Table of Contents
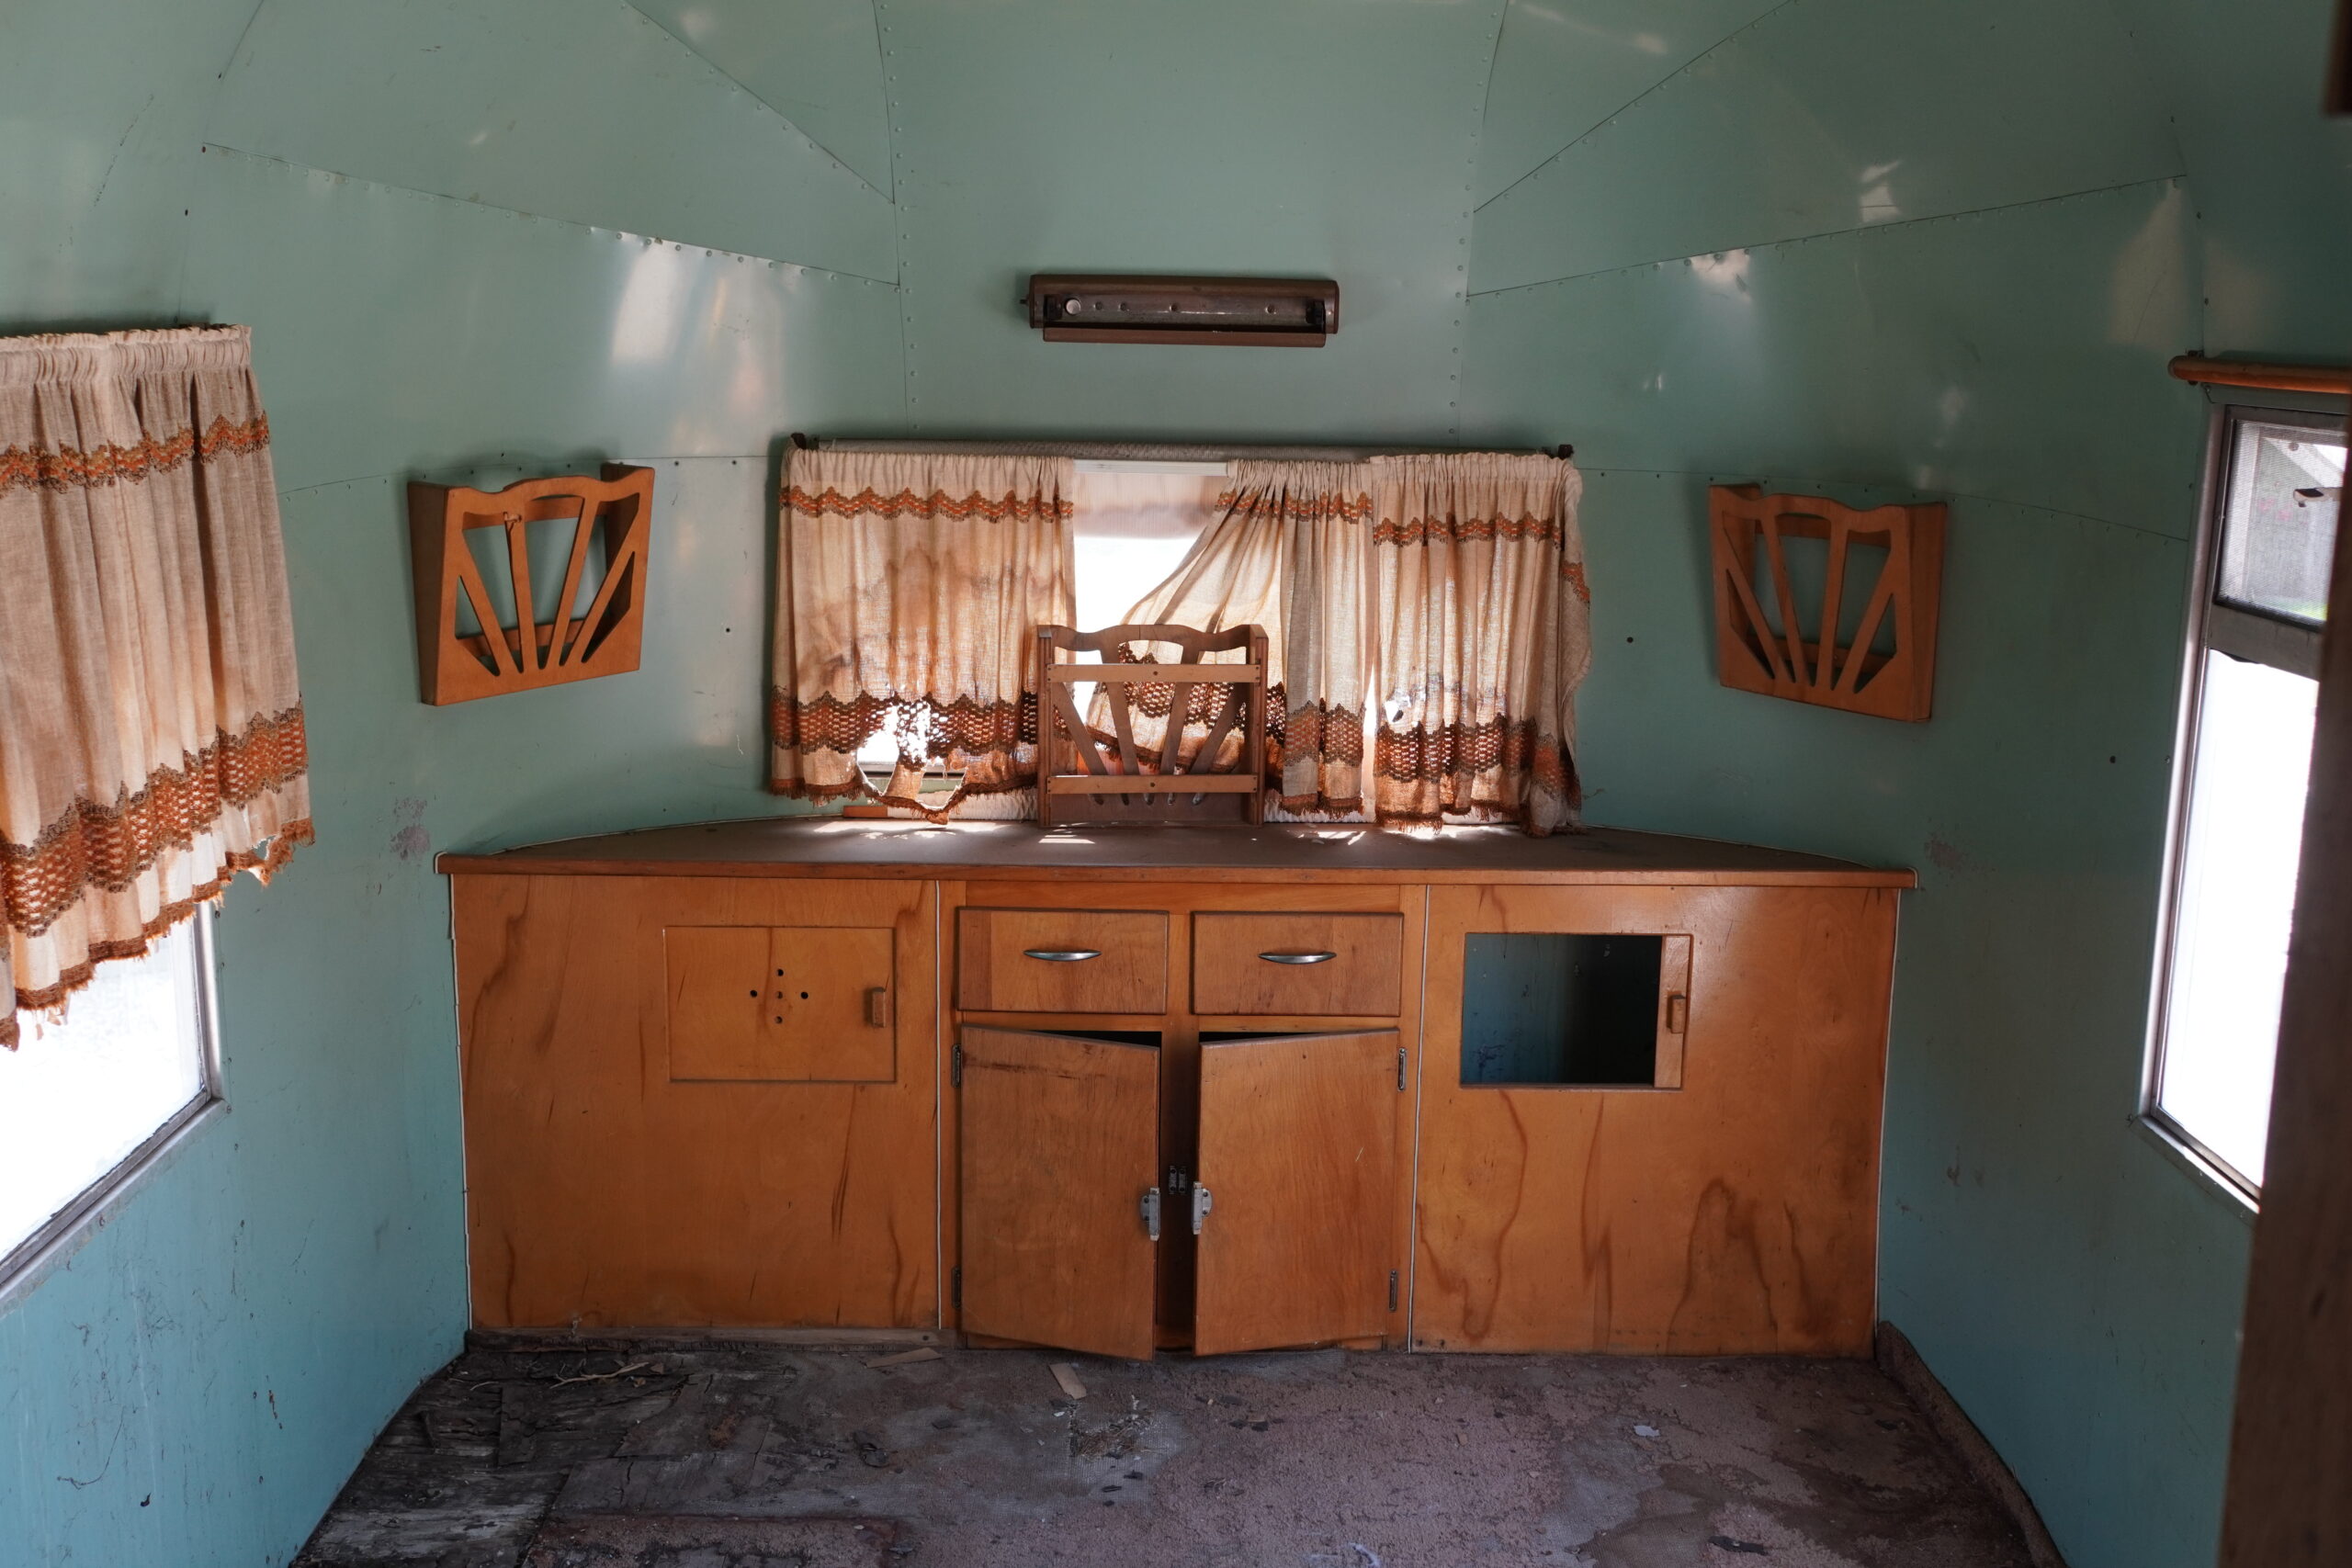
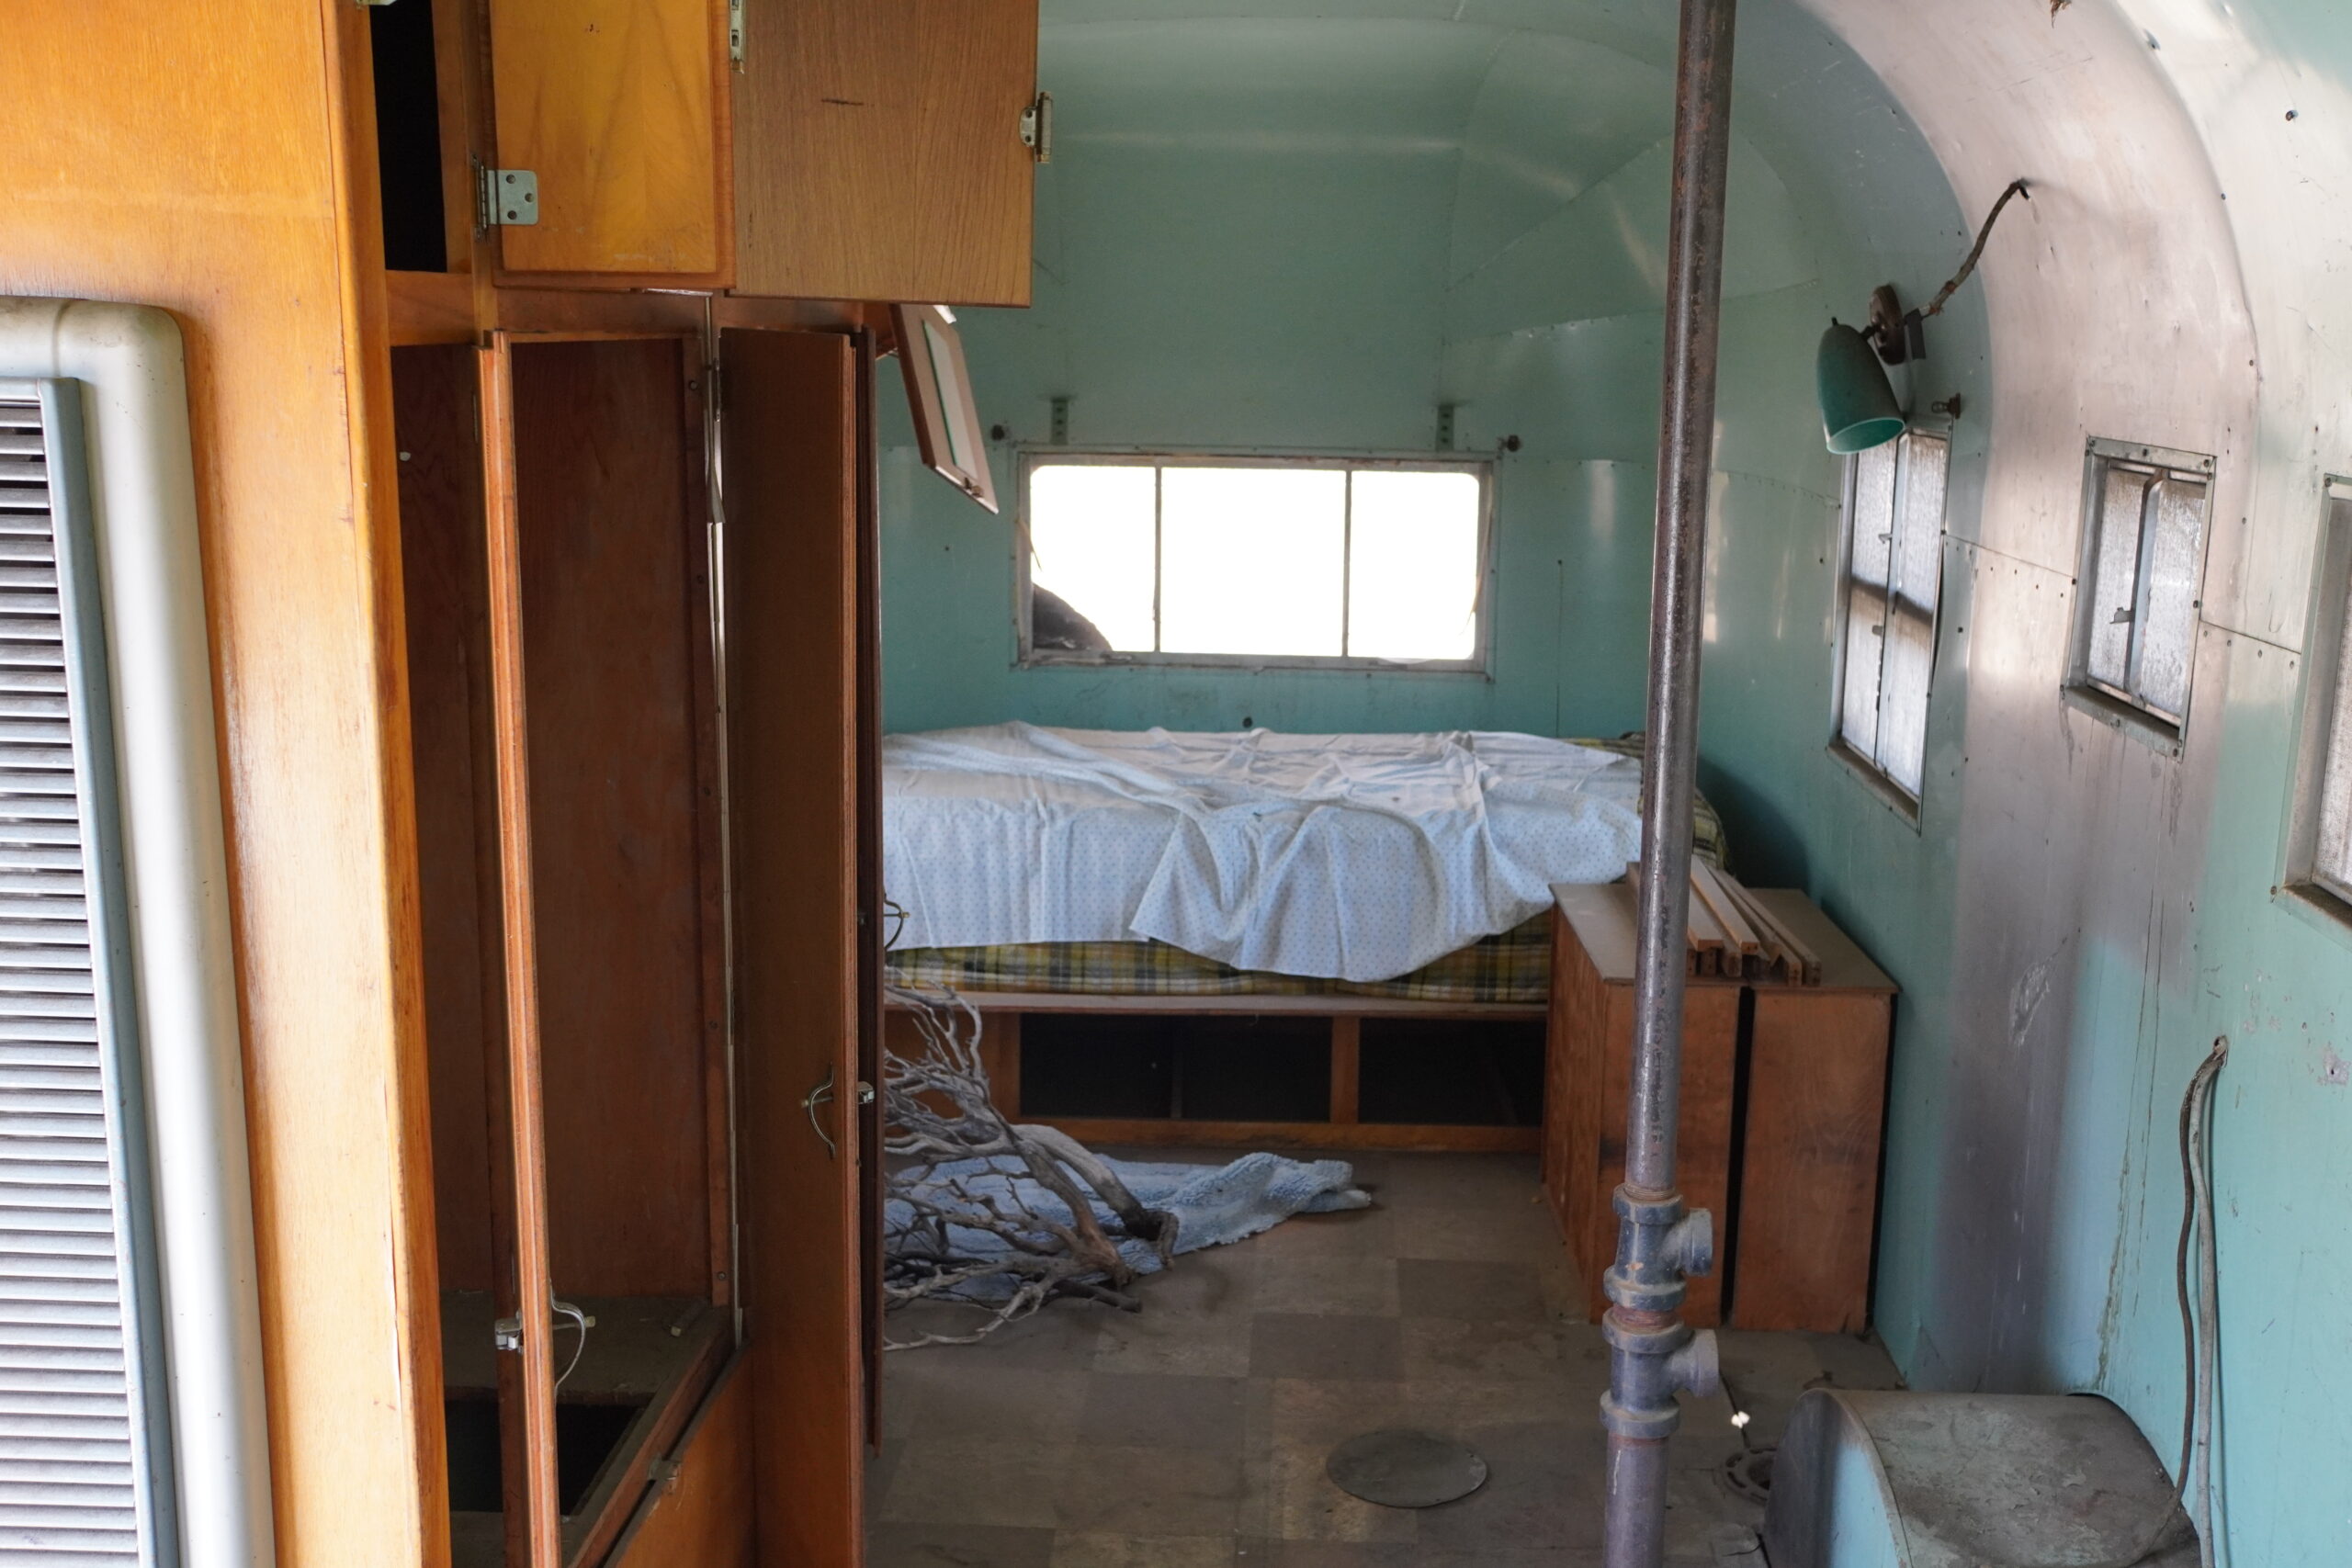
A couple of years ago my buddy, Nathan, purchased his first home. As part of the deal, he negotiated to keep the existing trailer in the backyard - a California made Airlight camper/trailer. According to the internet, Airlight was a competitor to Airstream but much rarer to find. His plan was rebuilding and re-purposing the 1957 Airlight El Rey into a backyard bar.
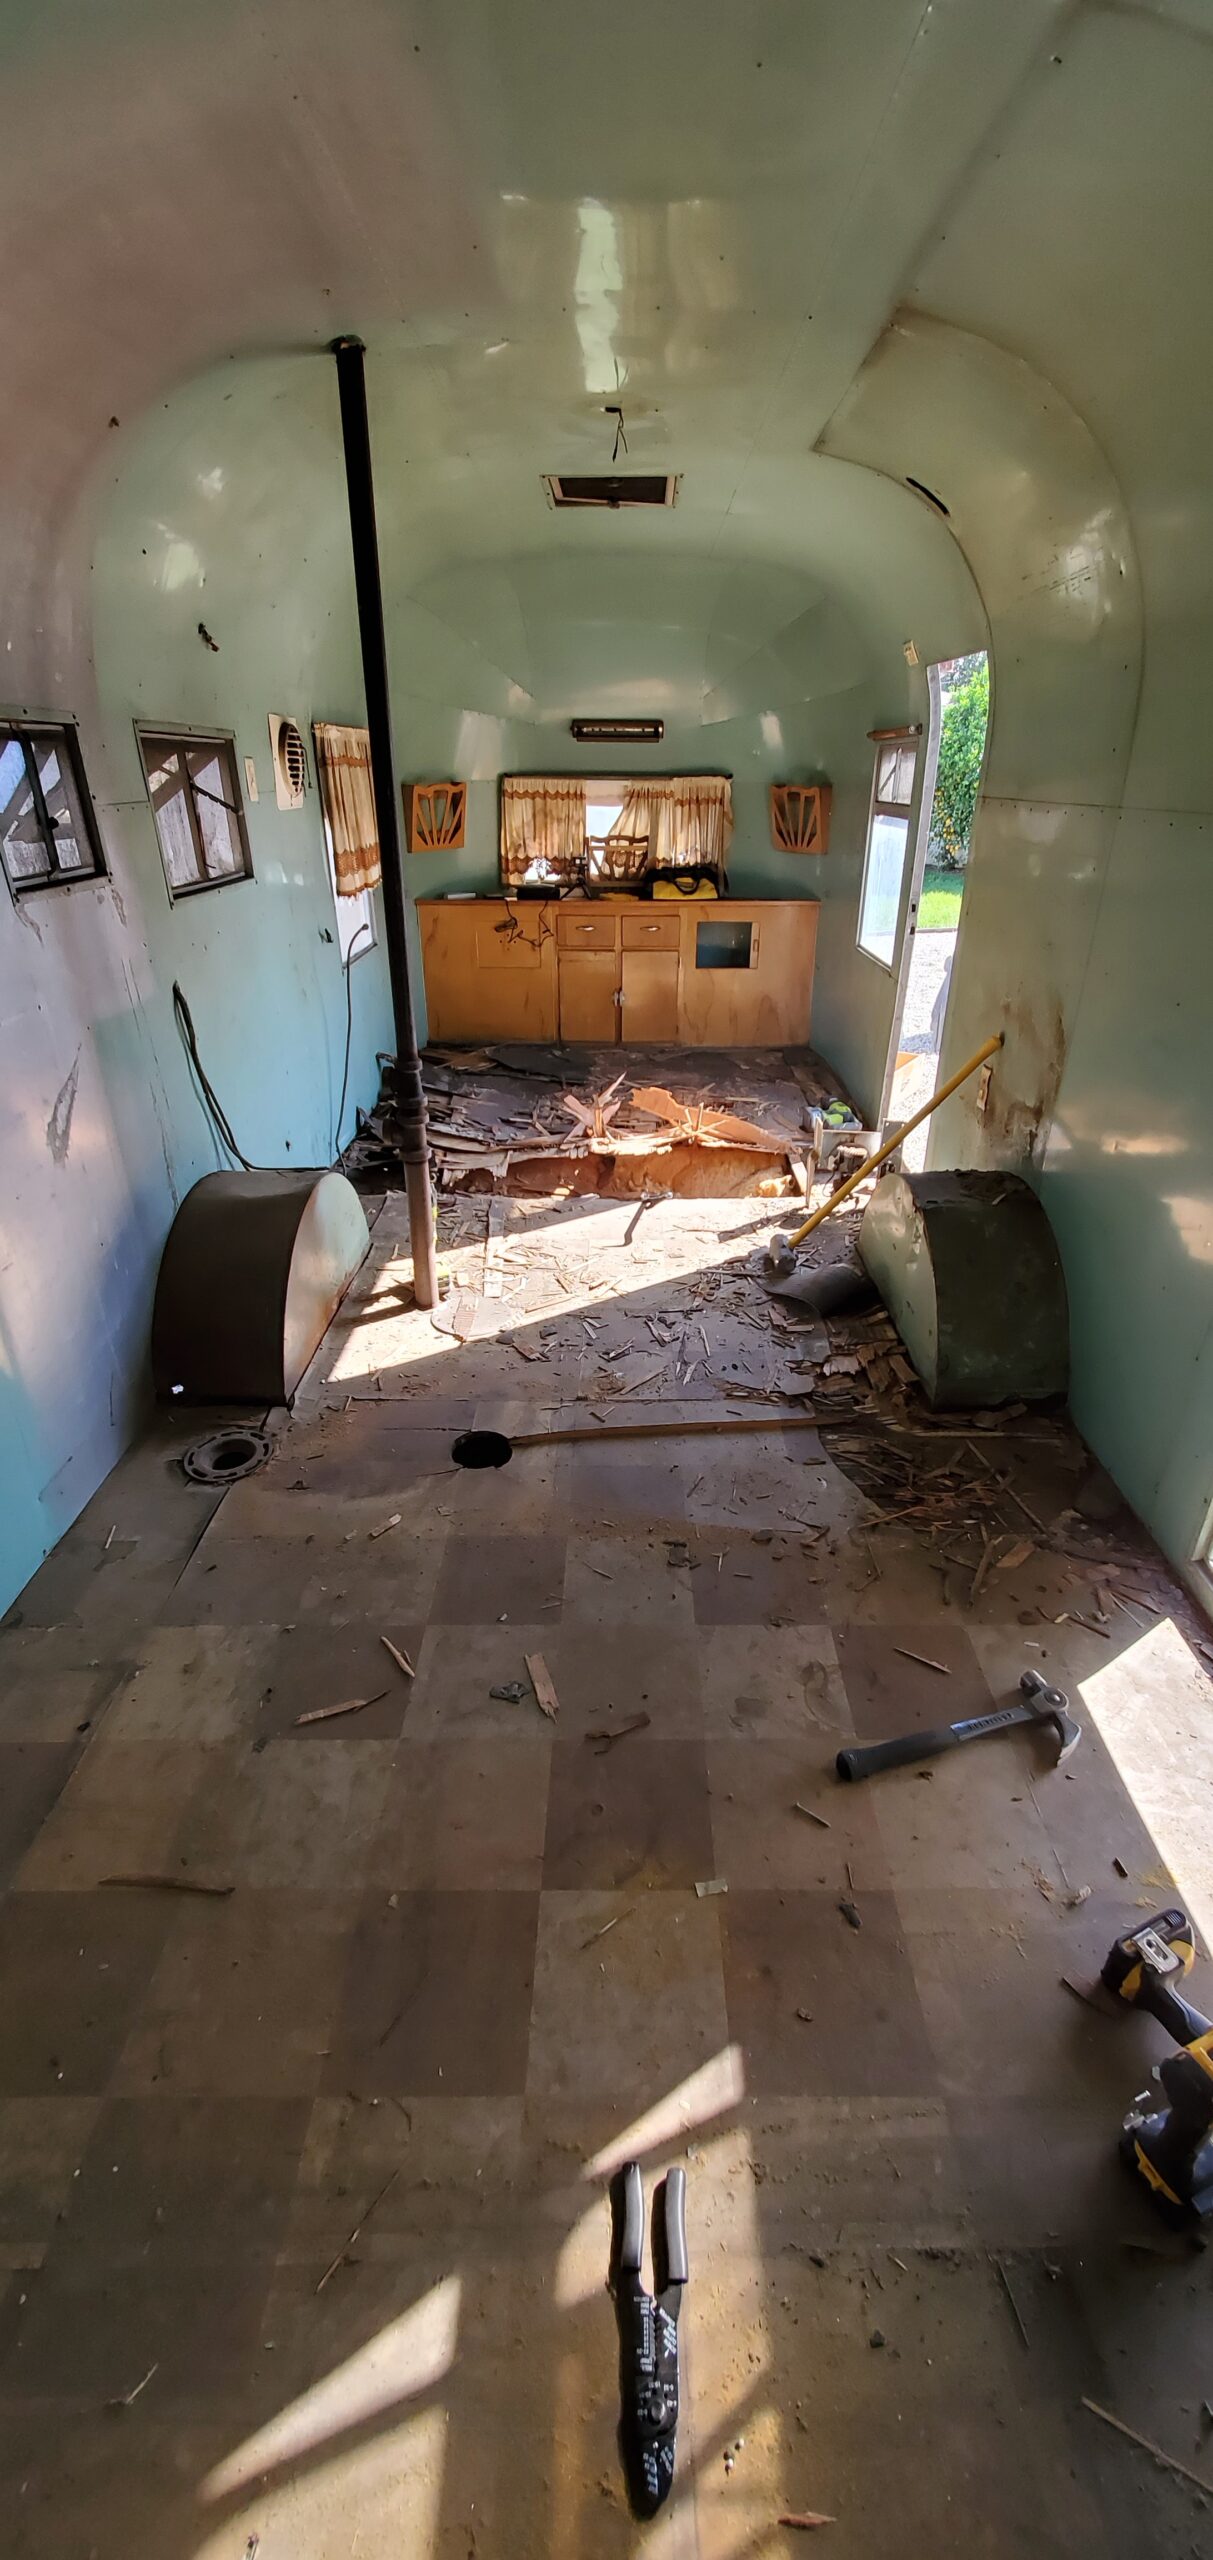
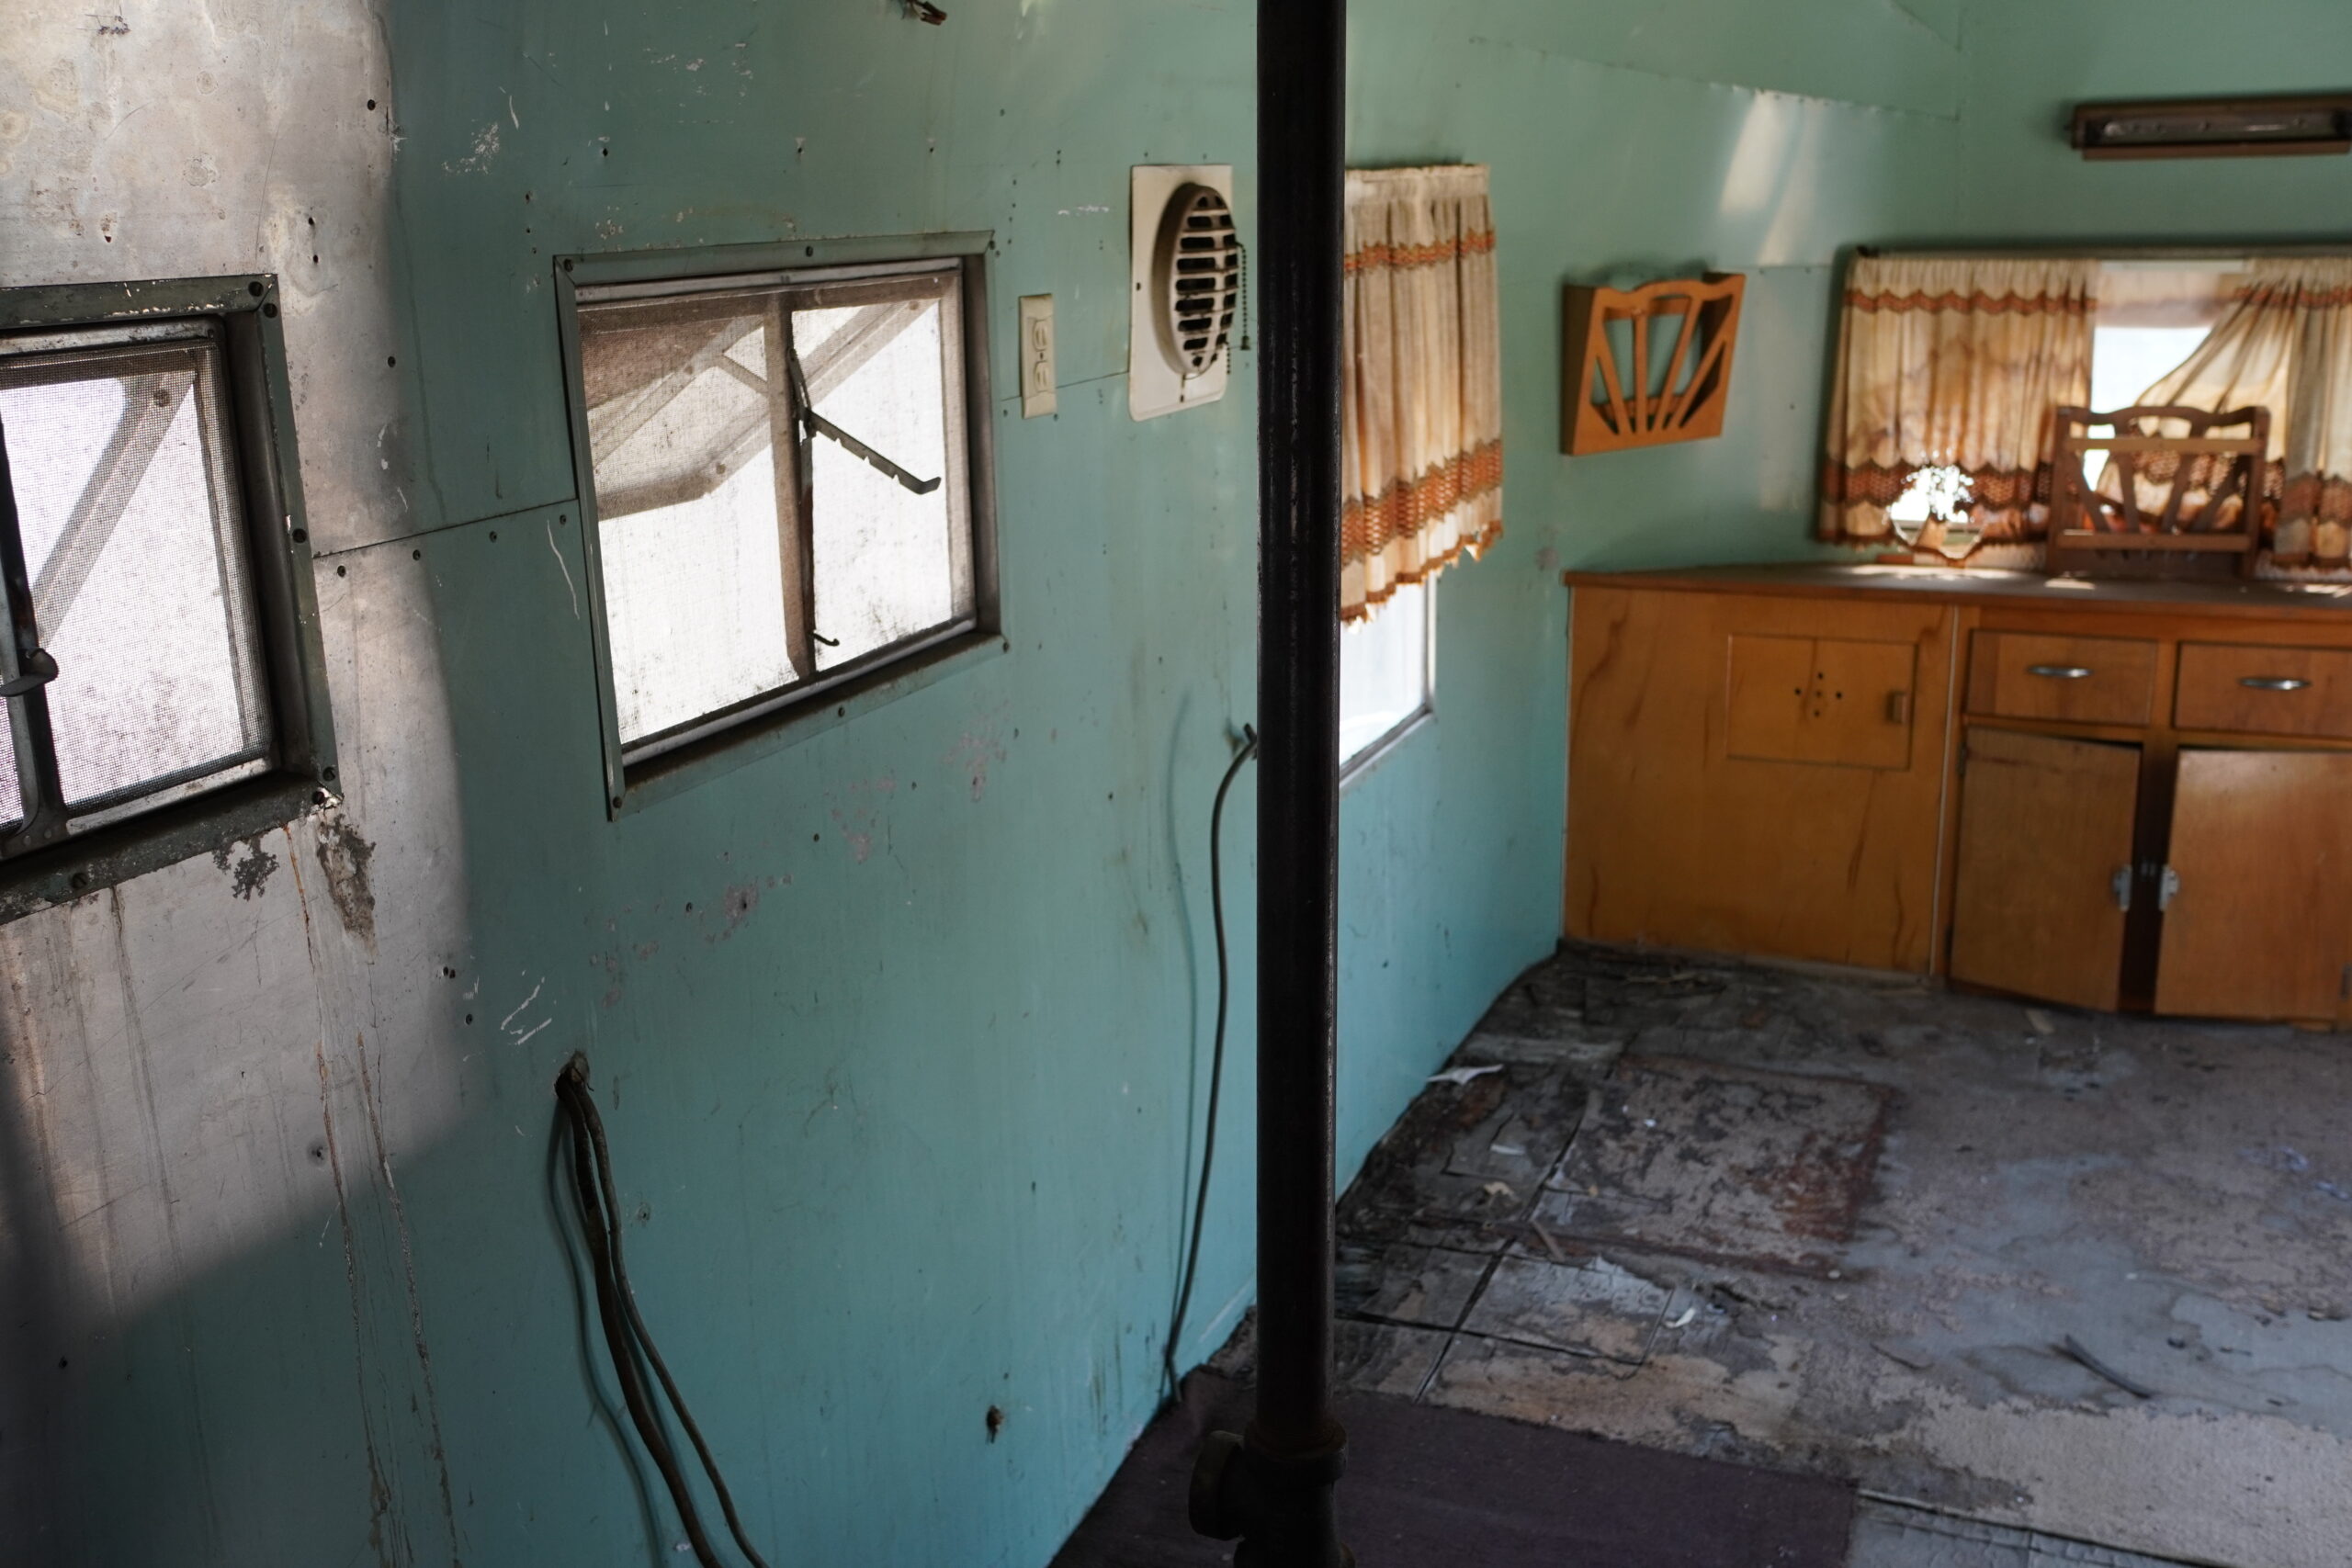
The thing was a disgusting mess as you can imagine with anything that is 60+ years old sitting out in the sun. It was webby, dusty, and just plain dirty. There were bloodstains on the mattress that was visible and God knows what other human fluids. The cabinets were cheap wood that folded over when you applied force.

This project started on a whim with me needing to get out of the house. I asked my friend Nathan to hang out and he suggested us getting started on this project.
We started by ripping apart and removing the old furniture. The cabinets were all held in place by flat head screws. The annoying thing about flathead screws is that it built rust on the heads over the years and was a pain in the ass to remove. Our impact driver would just spin off the heads. This led to us kicking down the cabinet framing. It was efficient but it was much faster than dealing with the screws.
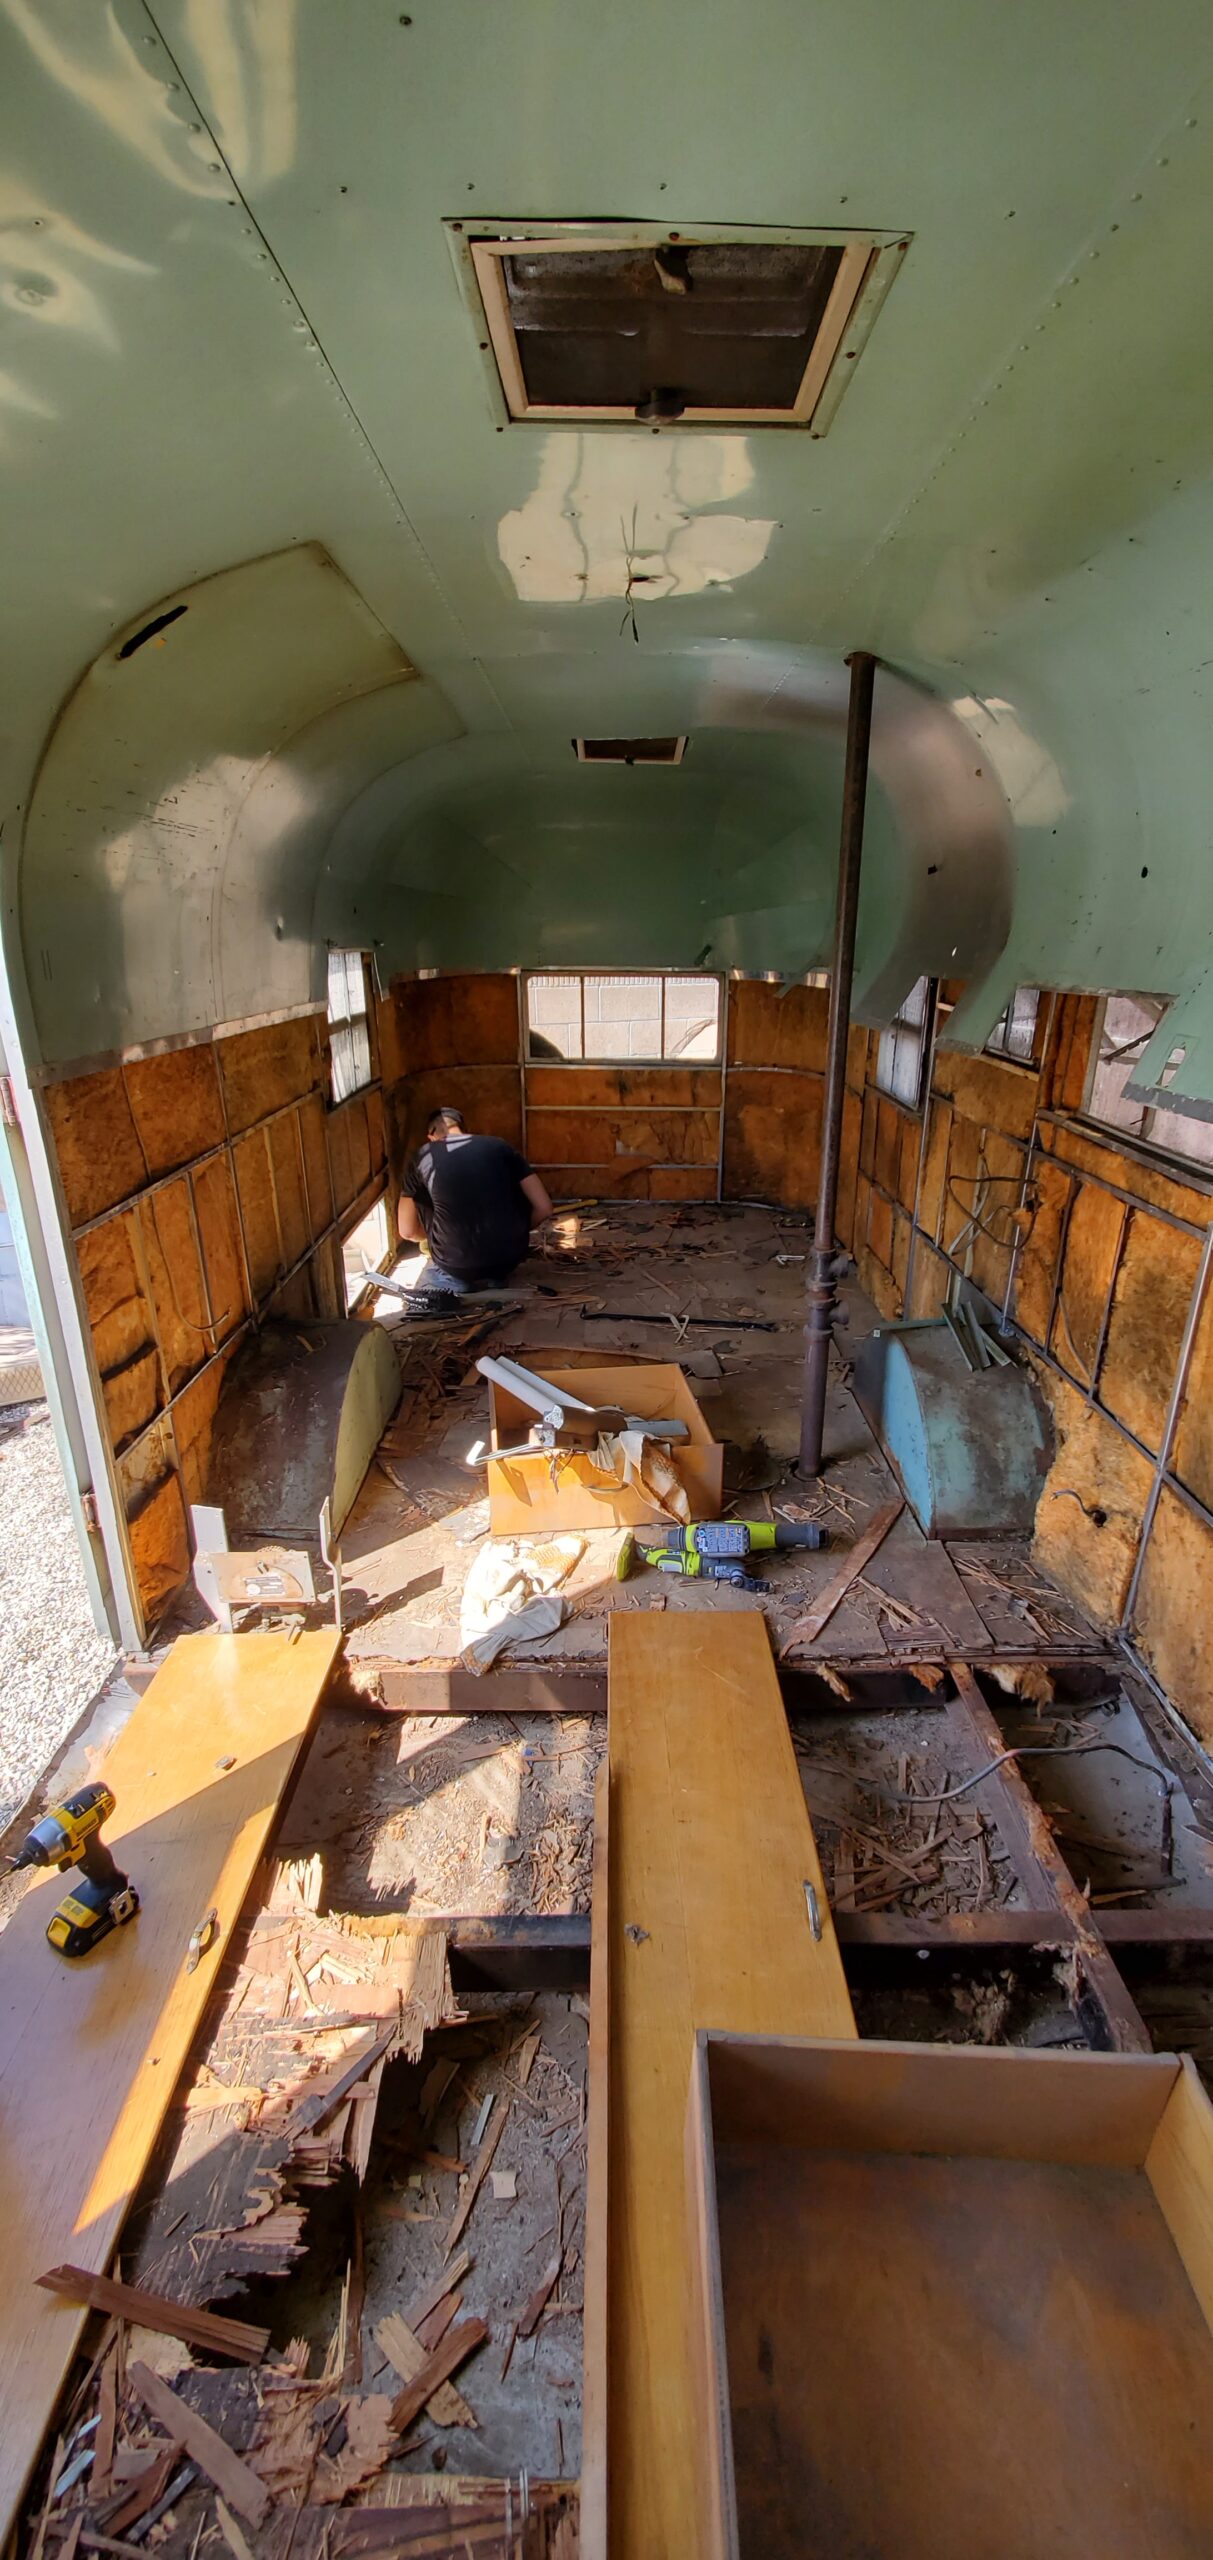
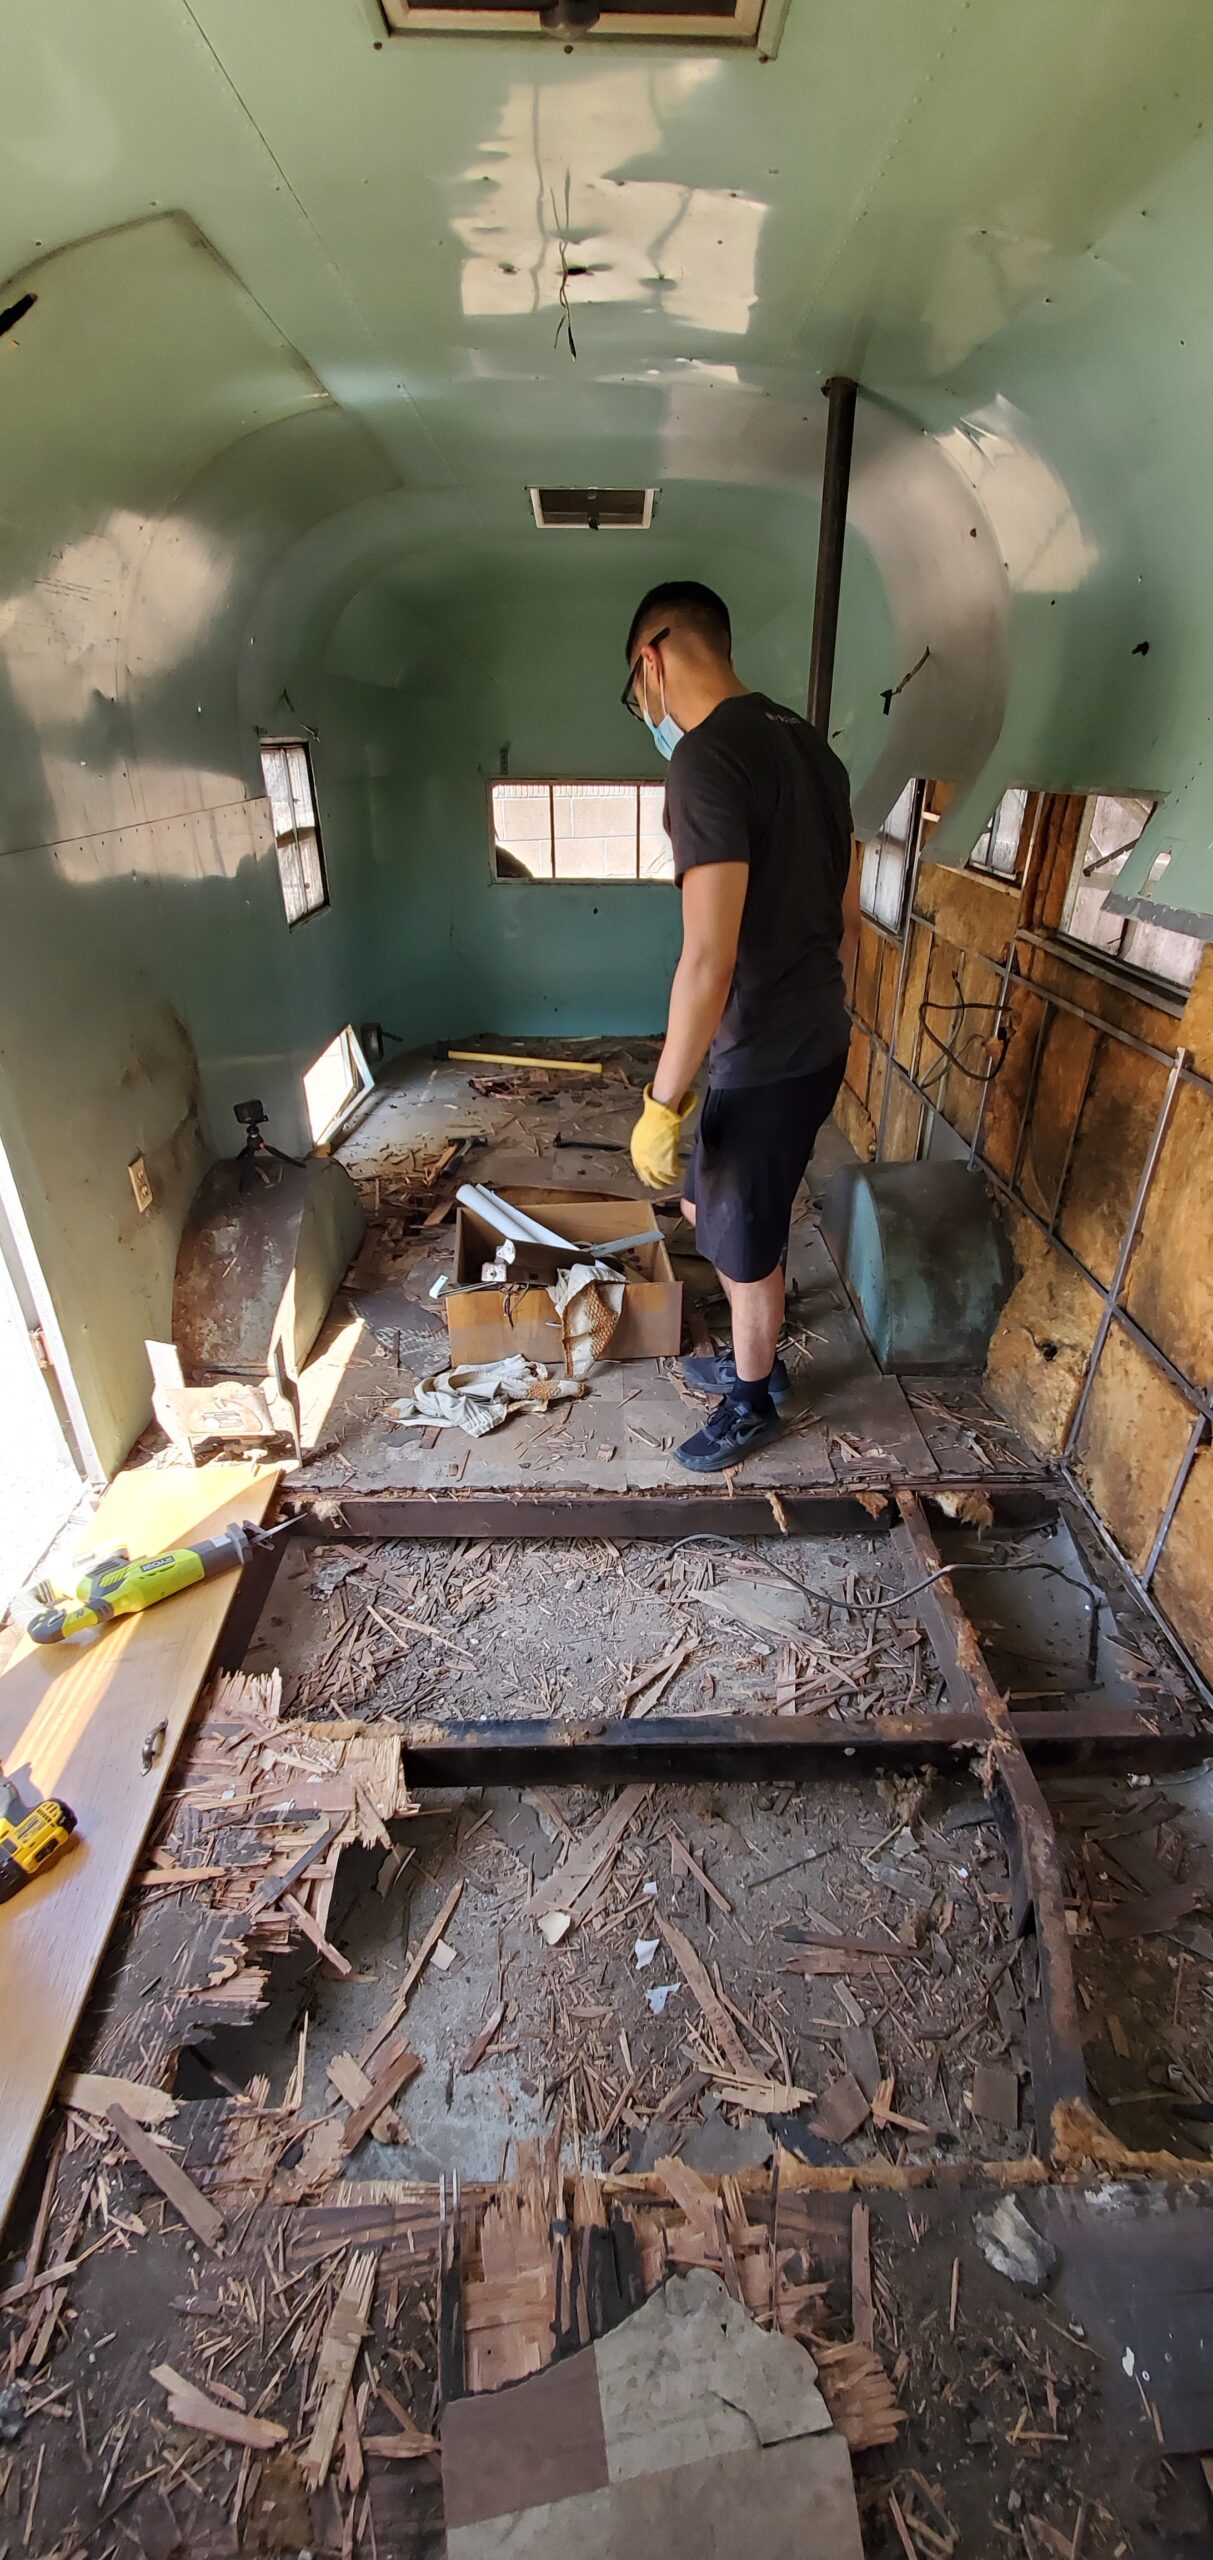
Next, we attempt to remove the flooring. I think the original flooring was vinyl because it was easily peeled off from the plywood backing. The plywood was the issue. We tried running power tools to cut down the plywood but kept running into the chassis frame. This leads us to use a 20-pound sledgehammer to break down parts of the plywood.

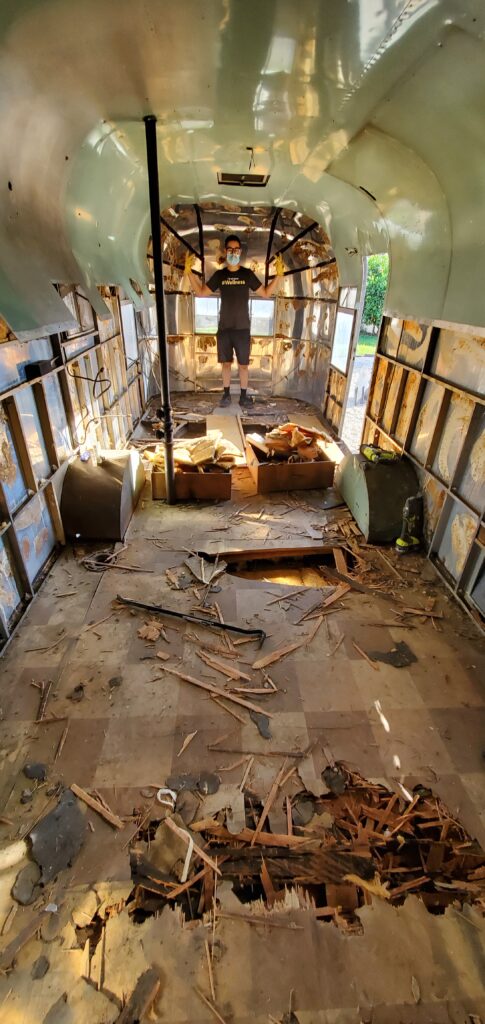
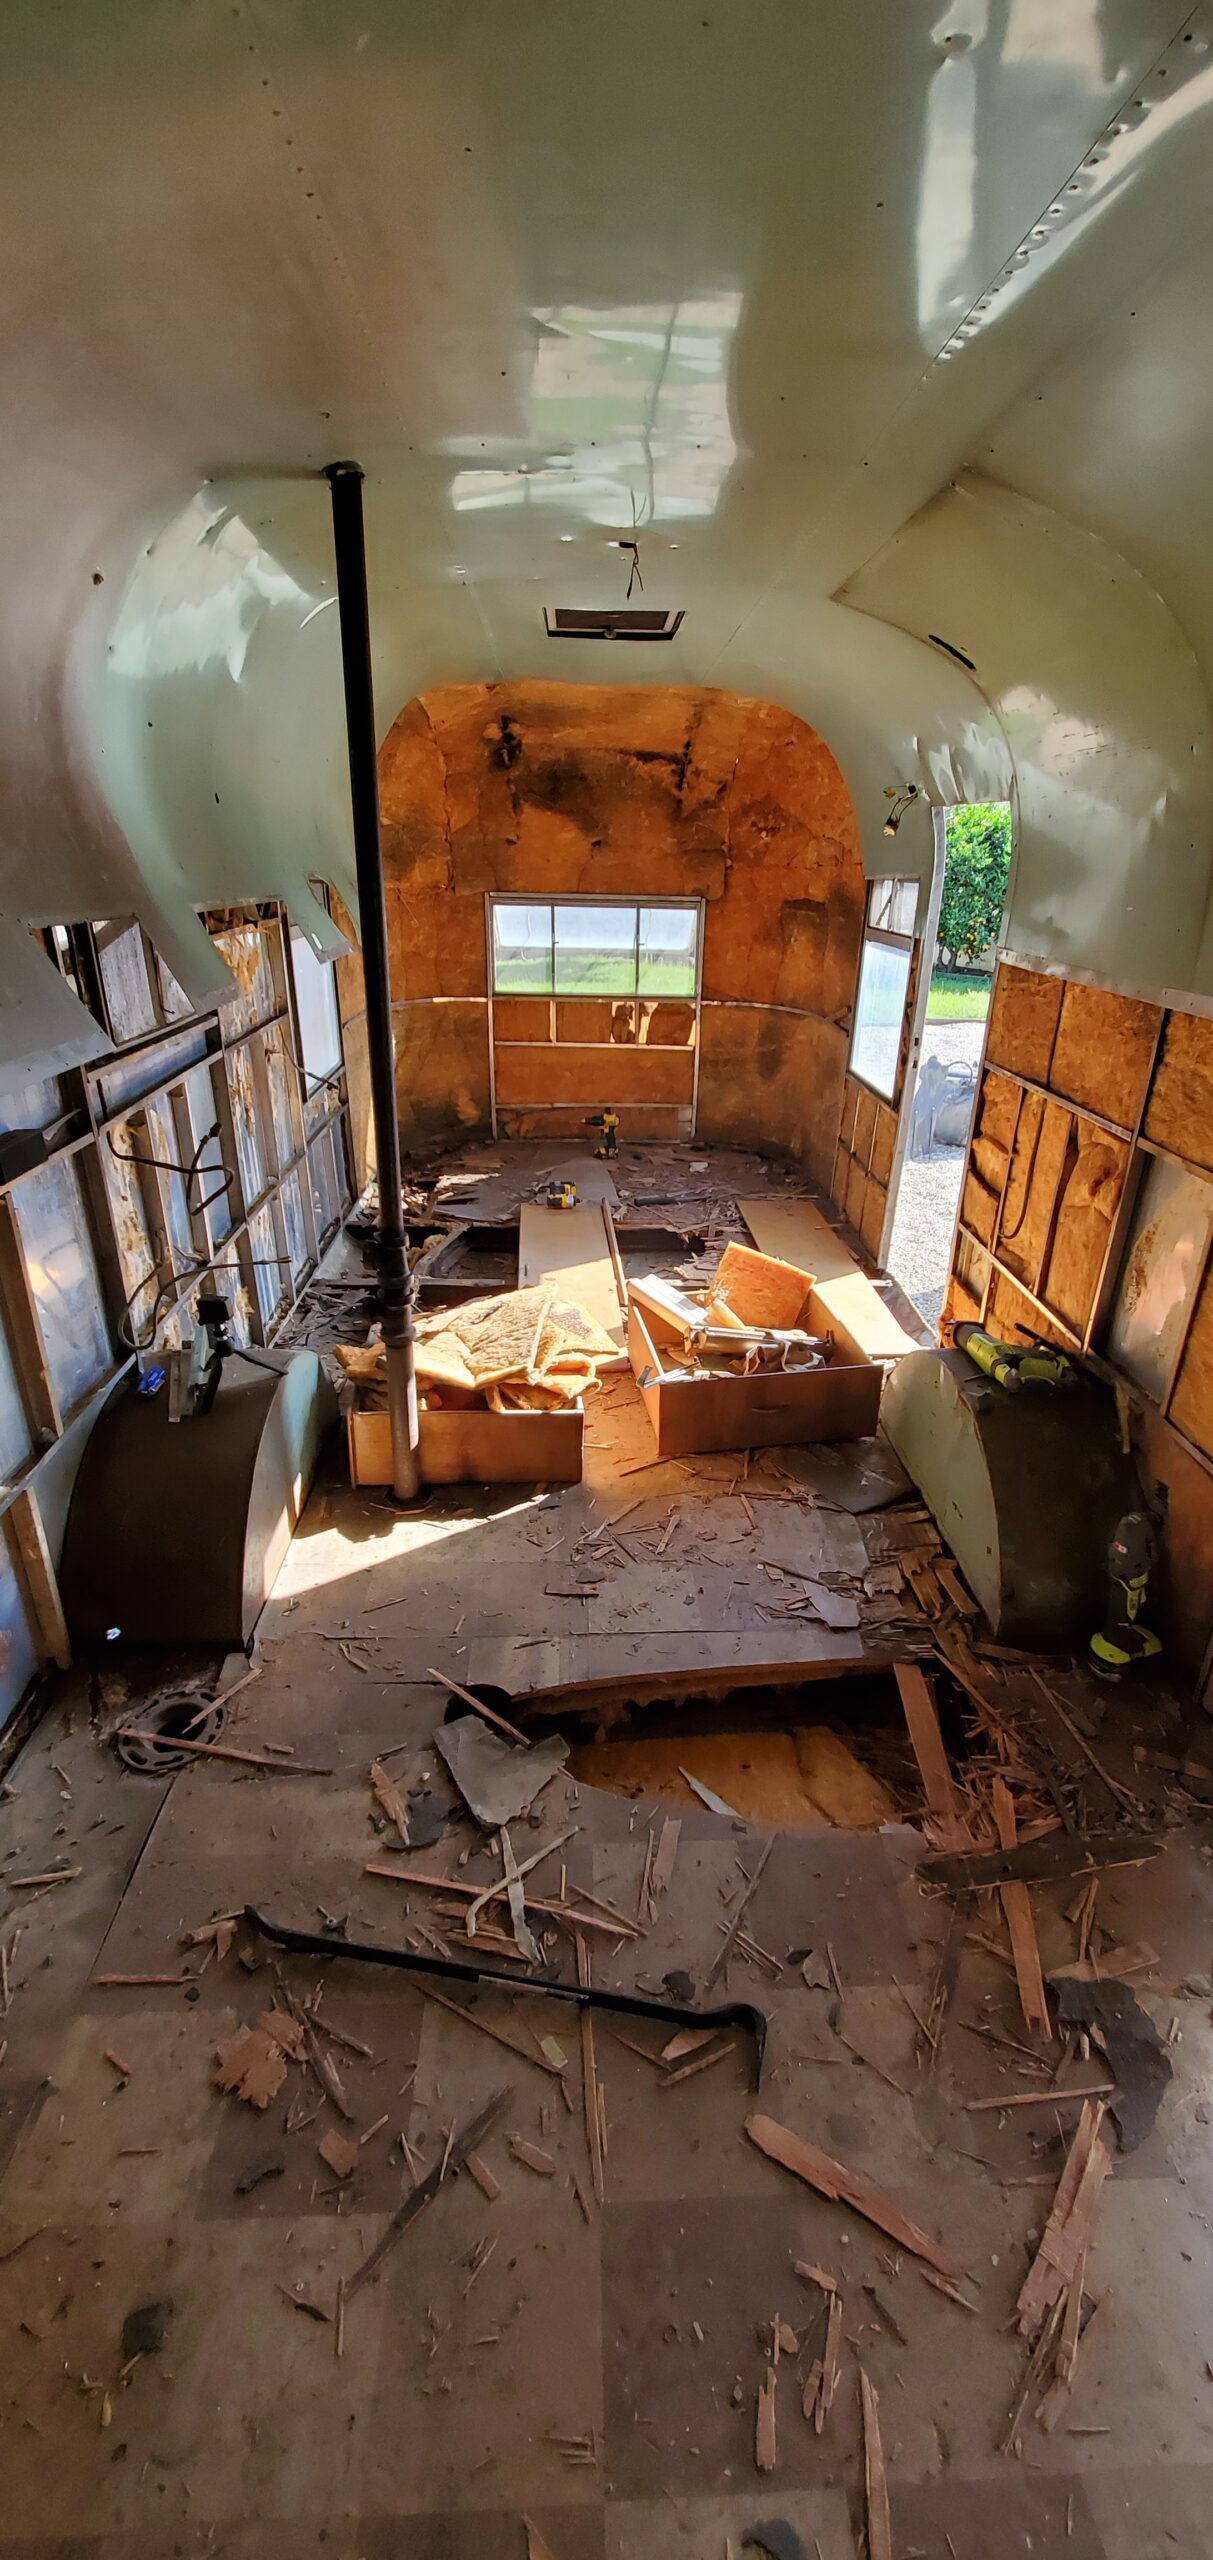
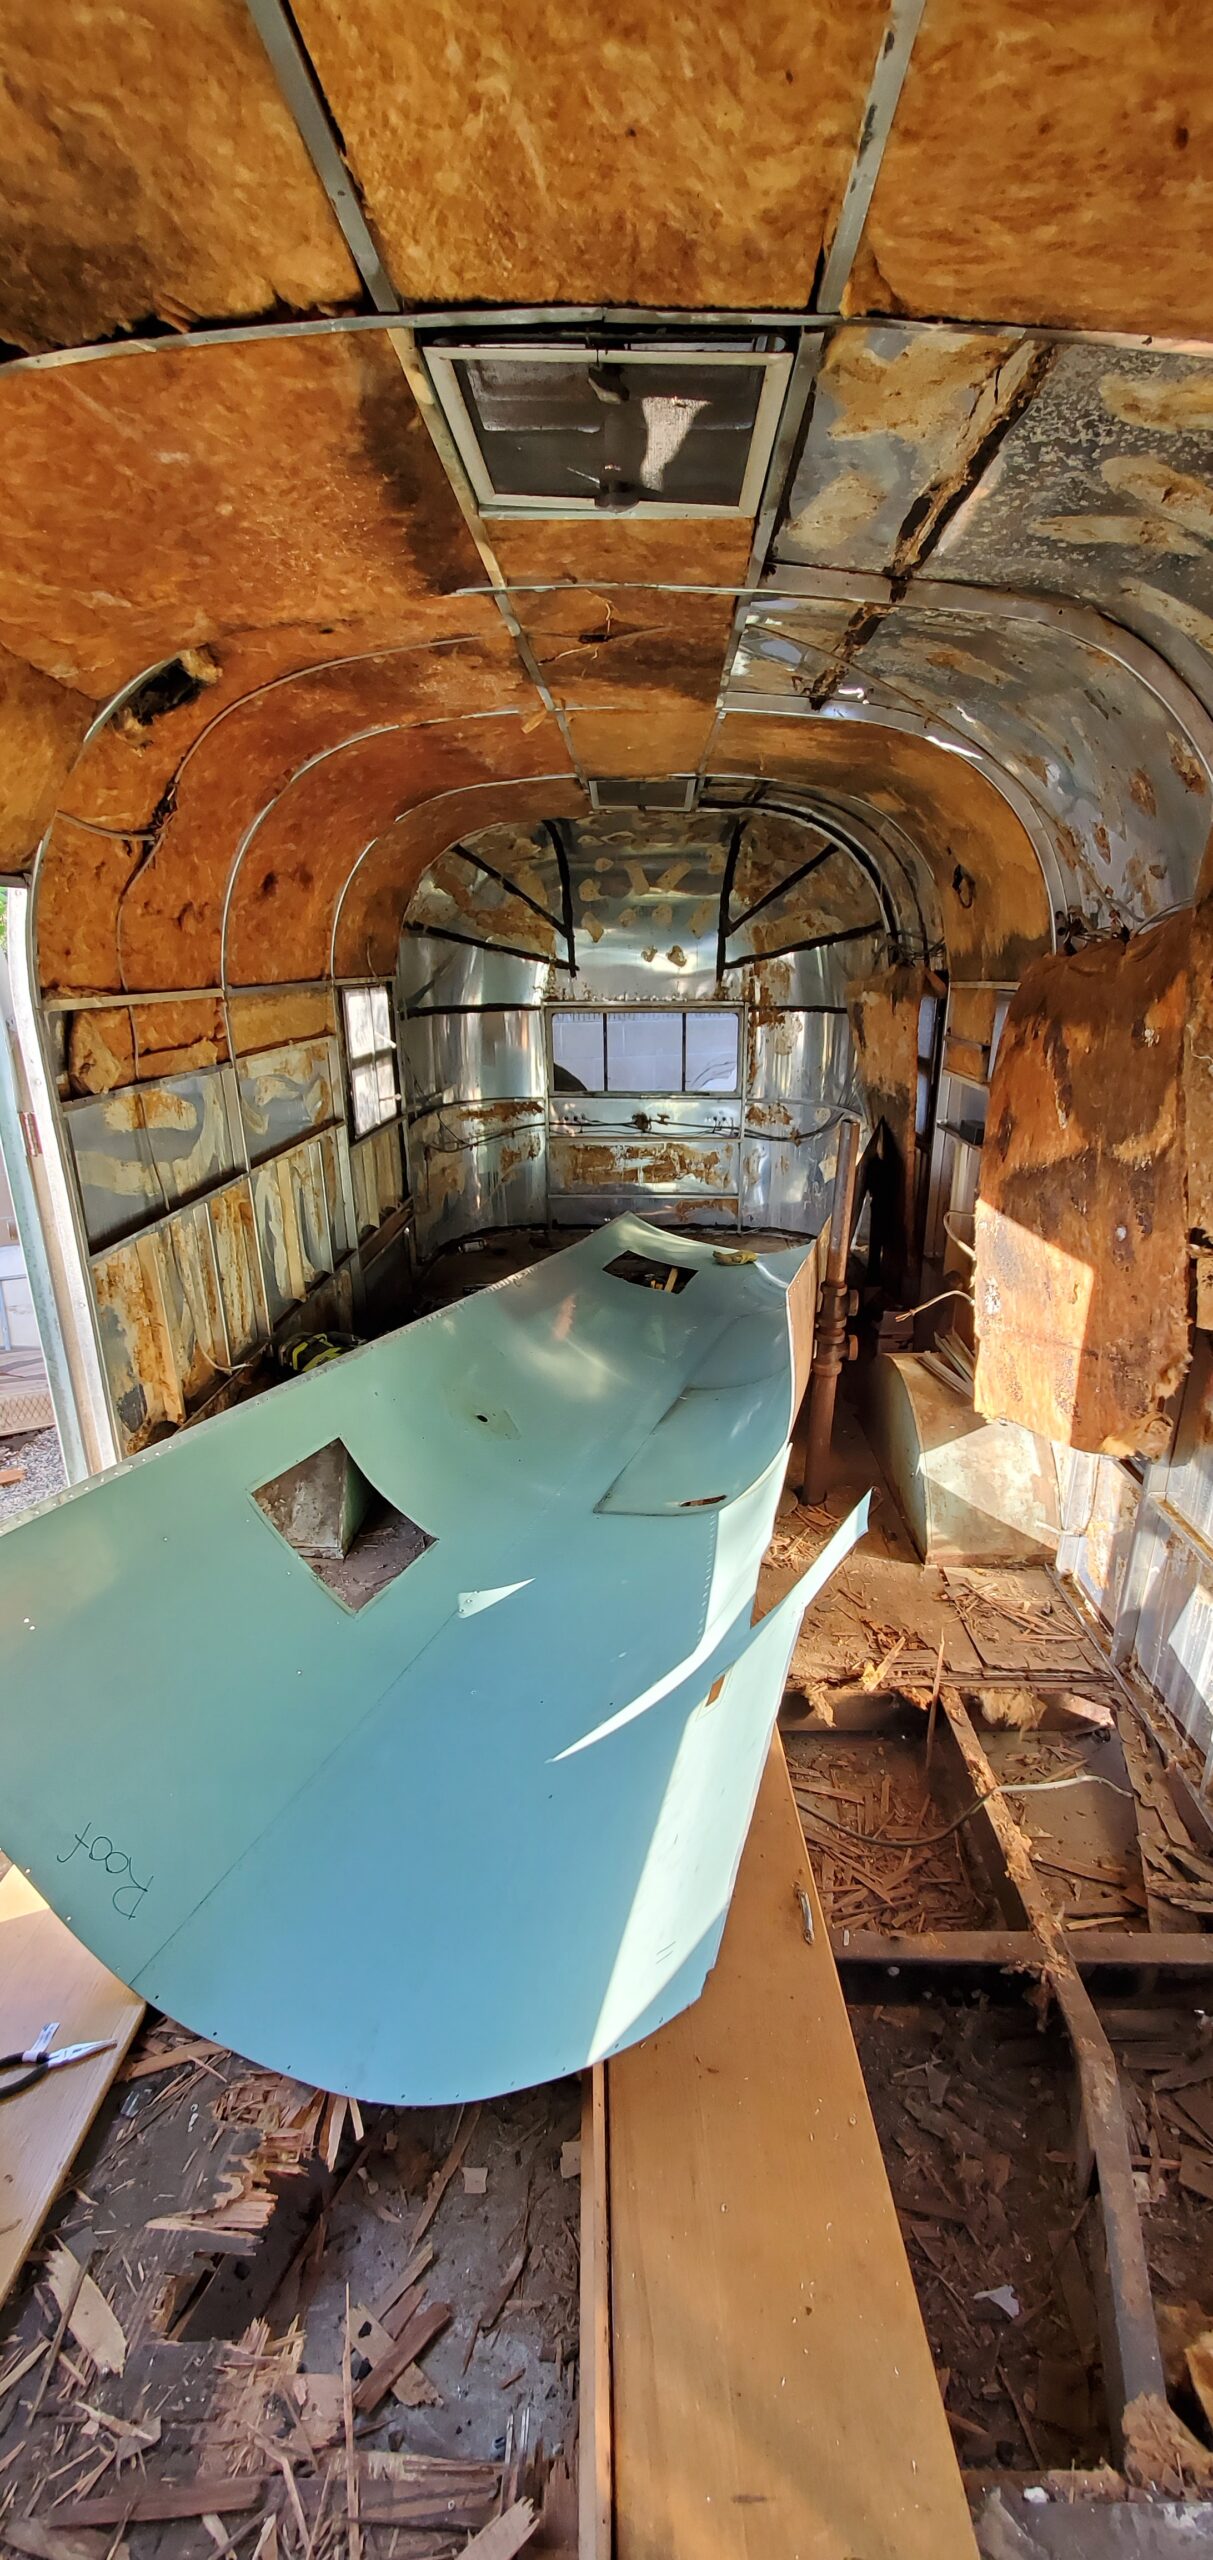
Originally, the plan was only to remove the floorboards, the plywood backing, and leave the rest. After day 1, Nathan decided it was best to remove the interior aluminum panels as well so that he can redo the insulation and electrical. Day 2 was spent drilling out rivets to remove each panel section. There must have been hundreds of rivets holding every panel in place. We used a 1/8 drill bit to punch out the pin side of the rivets.
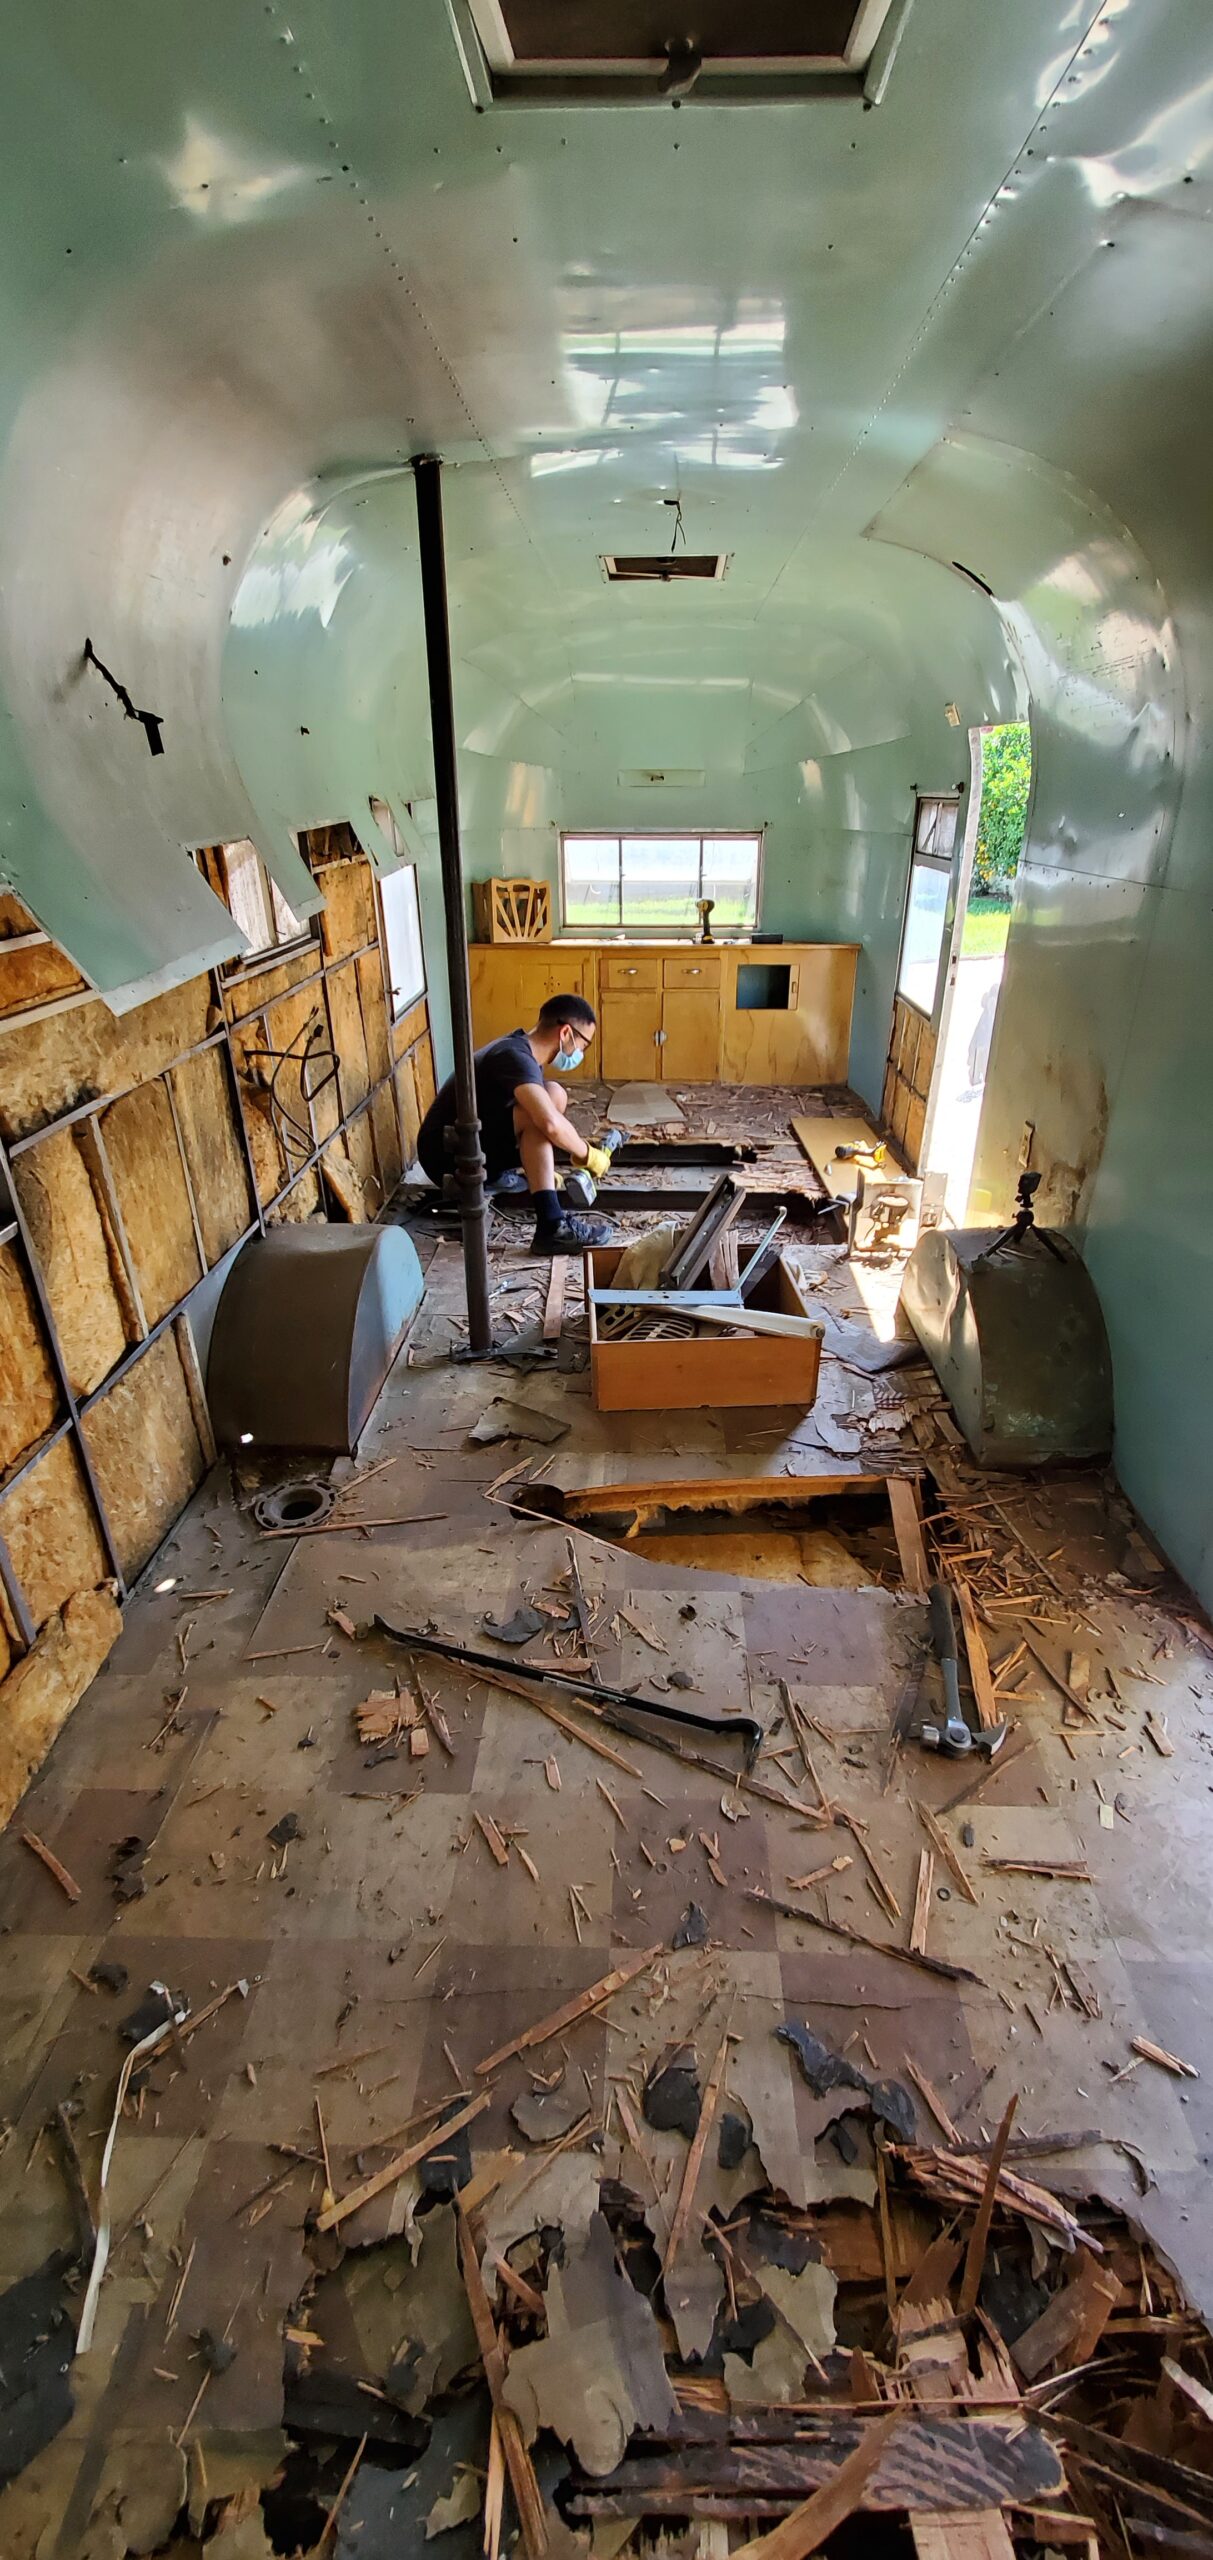
With each panel removed, we removed the old fiberglass insulation. An extremely itchy task! We called it quits with all side panels removed leaving only the top panel.
Also, we didn't have the proper tools to cut down the thick steel piping in order to remove the top panel.
We tried to tackle cutting the plumbing piping with a dremel. I knew this wasn't possible but we gave it a try anyway. RIP dremel.
We ended up going out and purchasing a angle grinder and some cut off disk. This made easy work on the pipe as it cut like a hot knife through butter.
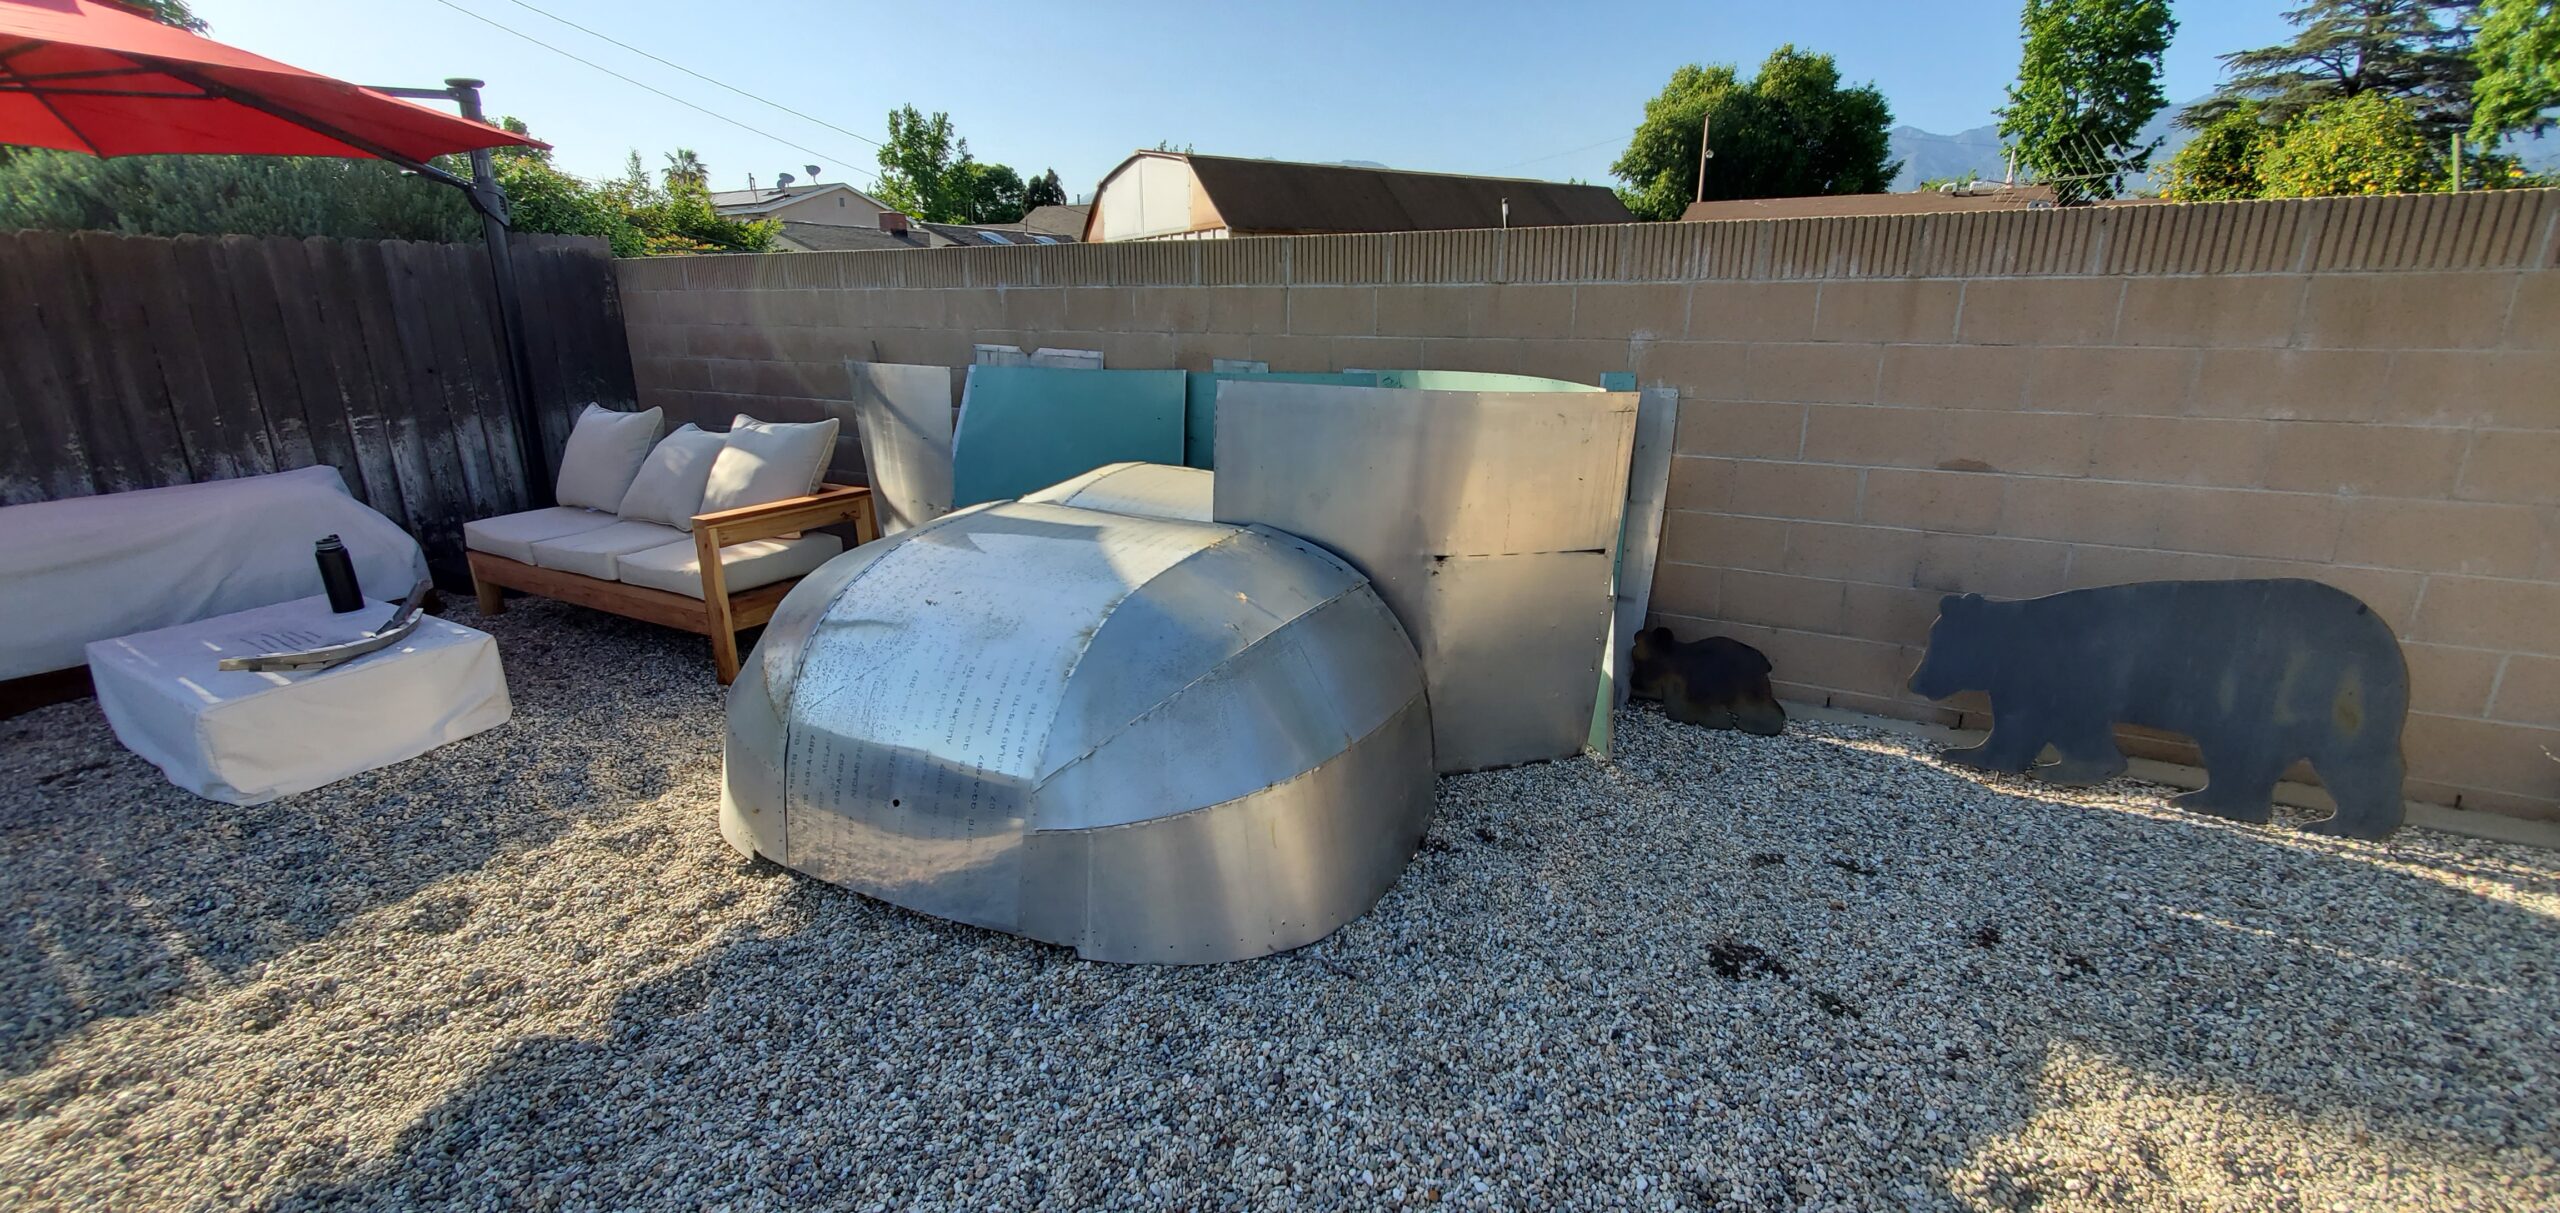
Originally, we thought we could take off the top aluminum panel as a whole, however, the size was way too big to fit through the door.
The top panel that makes up the arch inside of the camper is comprised of three aluminum panels riveted together. These rivets differ from the other rivets holding panels in place. These did not have the pin showing and were painted. Thus making them harder to drill out. We aimed the drill bit towards the middle of the rivet to punch it out. This lead to a bunch of uneven holes.
We ended up punching out the rivets to one of the panels and leaving the other two attached. This should leave enough room for us to redo electrical and insulation. It'll also make it less work when we reinstall these top panels.

We're starting to feel the typical California heat as it nears Summer. It was about 93 degrees today so we decided to make a Home Depot run for building materials. This included plywood, screws, and other miscellaneous parts and tools.
Southern California returned to manageable temperatures over the weekend. Today we reattached the center panel temporarily to remove the plywood floor backing.
We used a circular saw and set the depth gauge to the size of the plywood. This allowed us to cut into the wood but stop shy of the steel frame. The plywood backing was attached to the steel frame using flat bolts that presented a few challenges. We had to cut plywood around those bolts with the circular saw and then come back in with an angle grinder/cut off disk to cut off the bolts.
Finally, the rounded ends of the trailer made it a challenging task to replicate a new piece of plywood backing. We used the old plywood bed platform as a template while expanding the dimensions. There's probably a smarter way to do this but we're still trying to figure that out.
We attempted a dry fit but the plywood appears to be too long in width. At this point we called it a day.
I used a piece of cardboard to draw out the curvature of the trailer for the replacement plywood floor backing. This appears to be successful after several modifications. I then proceeded to screw up two plywood cuts that will now need to be recycled as furniture. Not my day. A few dry fits and that was it for the woodworking portion.
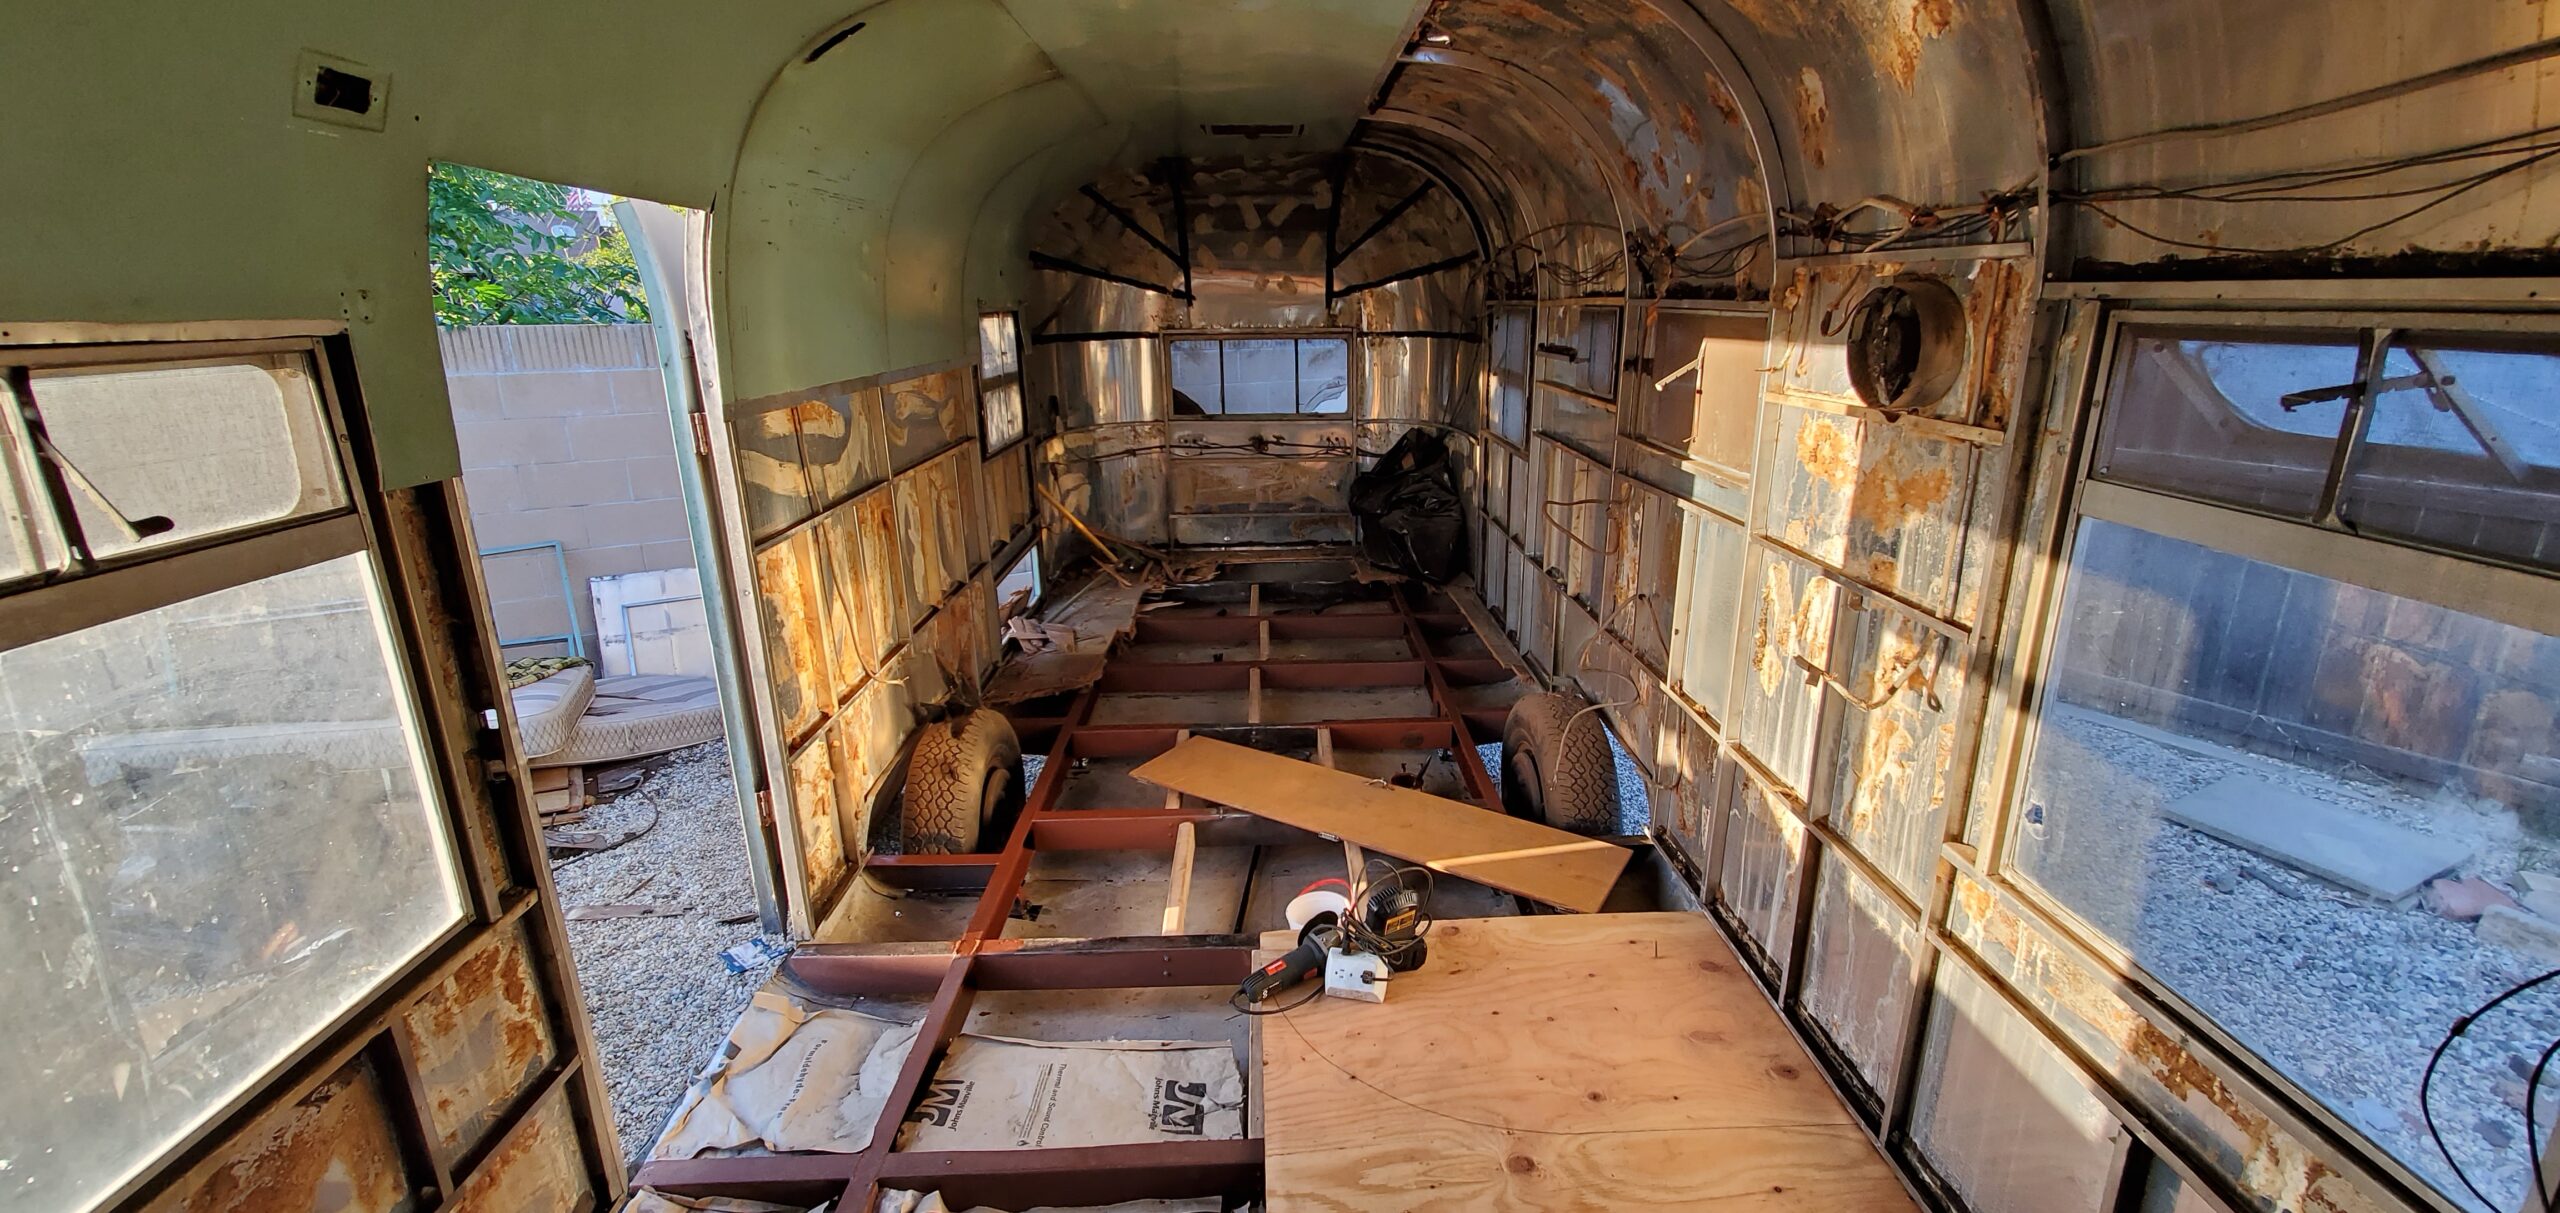
The rest of the day was spent cleaning the debris on top of the aluminum belly. We used angle grinders to grind away the rust on the chassis frame. Considering that this camper and chassis have lasted 60+ years without any major rust is not surprising since it's California. Regardless, we spent the time and applied Rust-Oleum Rusty Metal Primer over the chassis so that it can last a few more decades.
Most People will typically tear everything down and then rebuild. Our problem is that we're scared that if we take off all of the plywood floor backing, it will cause the aluminum to detach from the belly and sides and perhaps bow out. As a precaution. we removed the plywood on the front side of the camper, cleaned it up, and applied primer and insulation. All while the backside flooring still needs to be demolished.
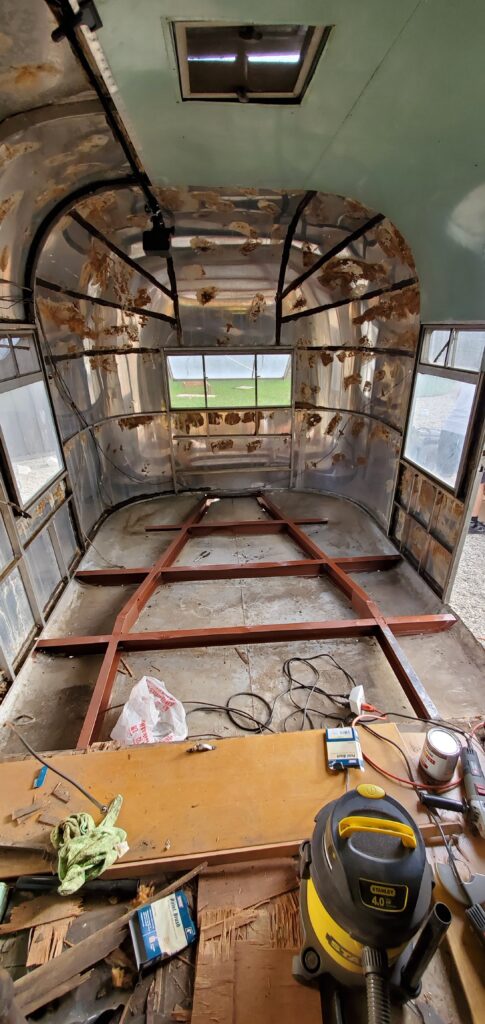
We decided to add center support framing using 2x4s. This will help with rigidity and allow us more leniency when we reinstall the rest of the plywood floor backing(assuming our dimension calculations are incorrect[because we're amateurs]).
The next step is to reinstall our new flooring on the front side and then move our way to the backside for demoing. Rinse and repeat with a lot of clean up in between.
On a side note, we've killed our little Ryobi 5-1/2" circular saw running back and forth over the flooring for demoing. The poor thing had no chance in this project. RIP.

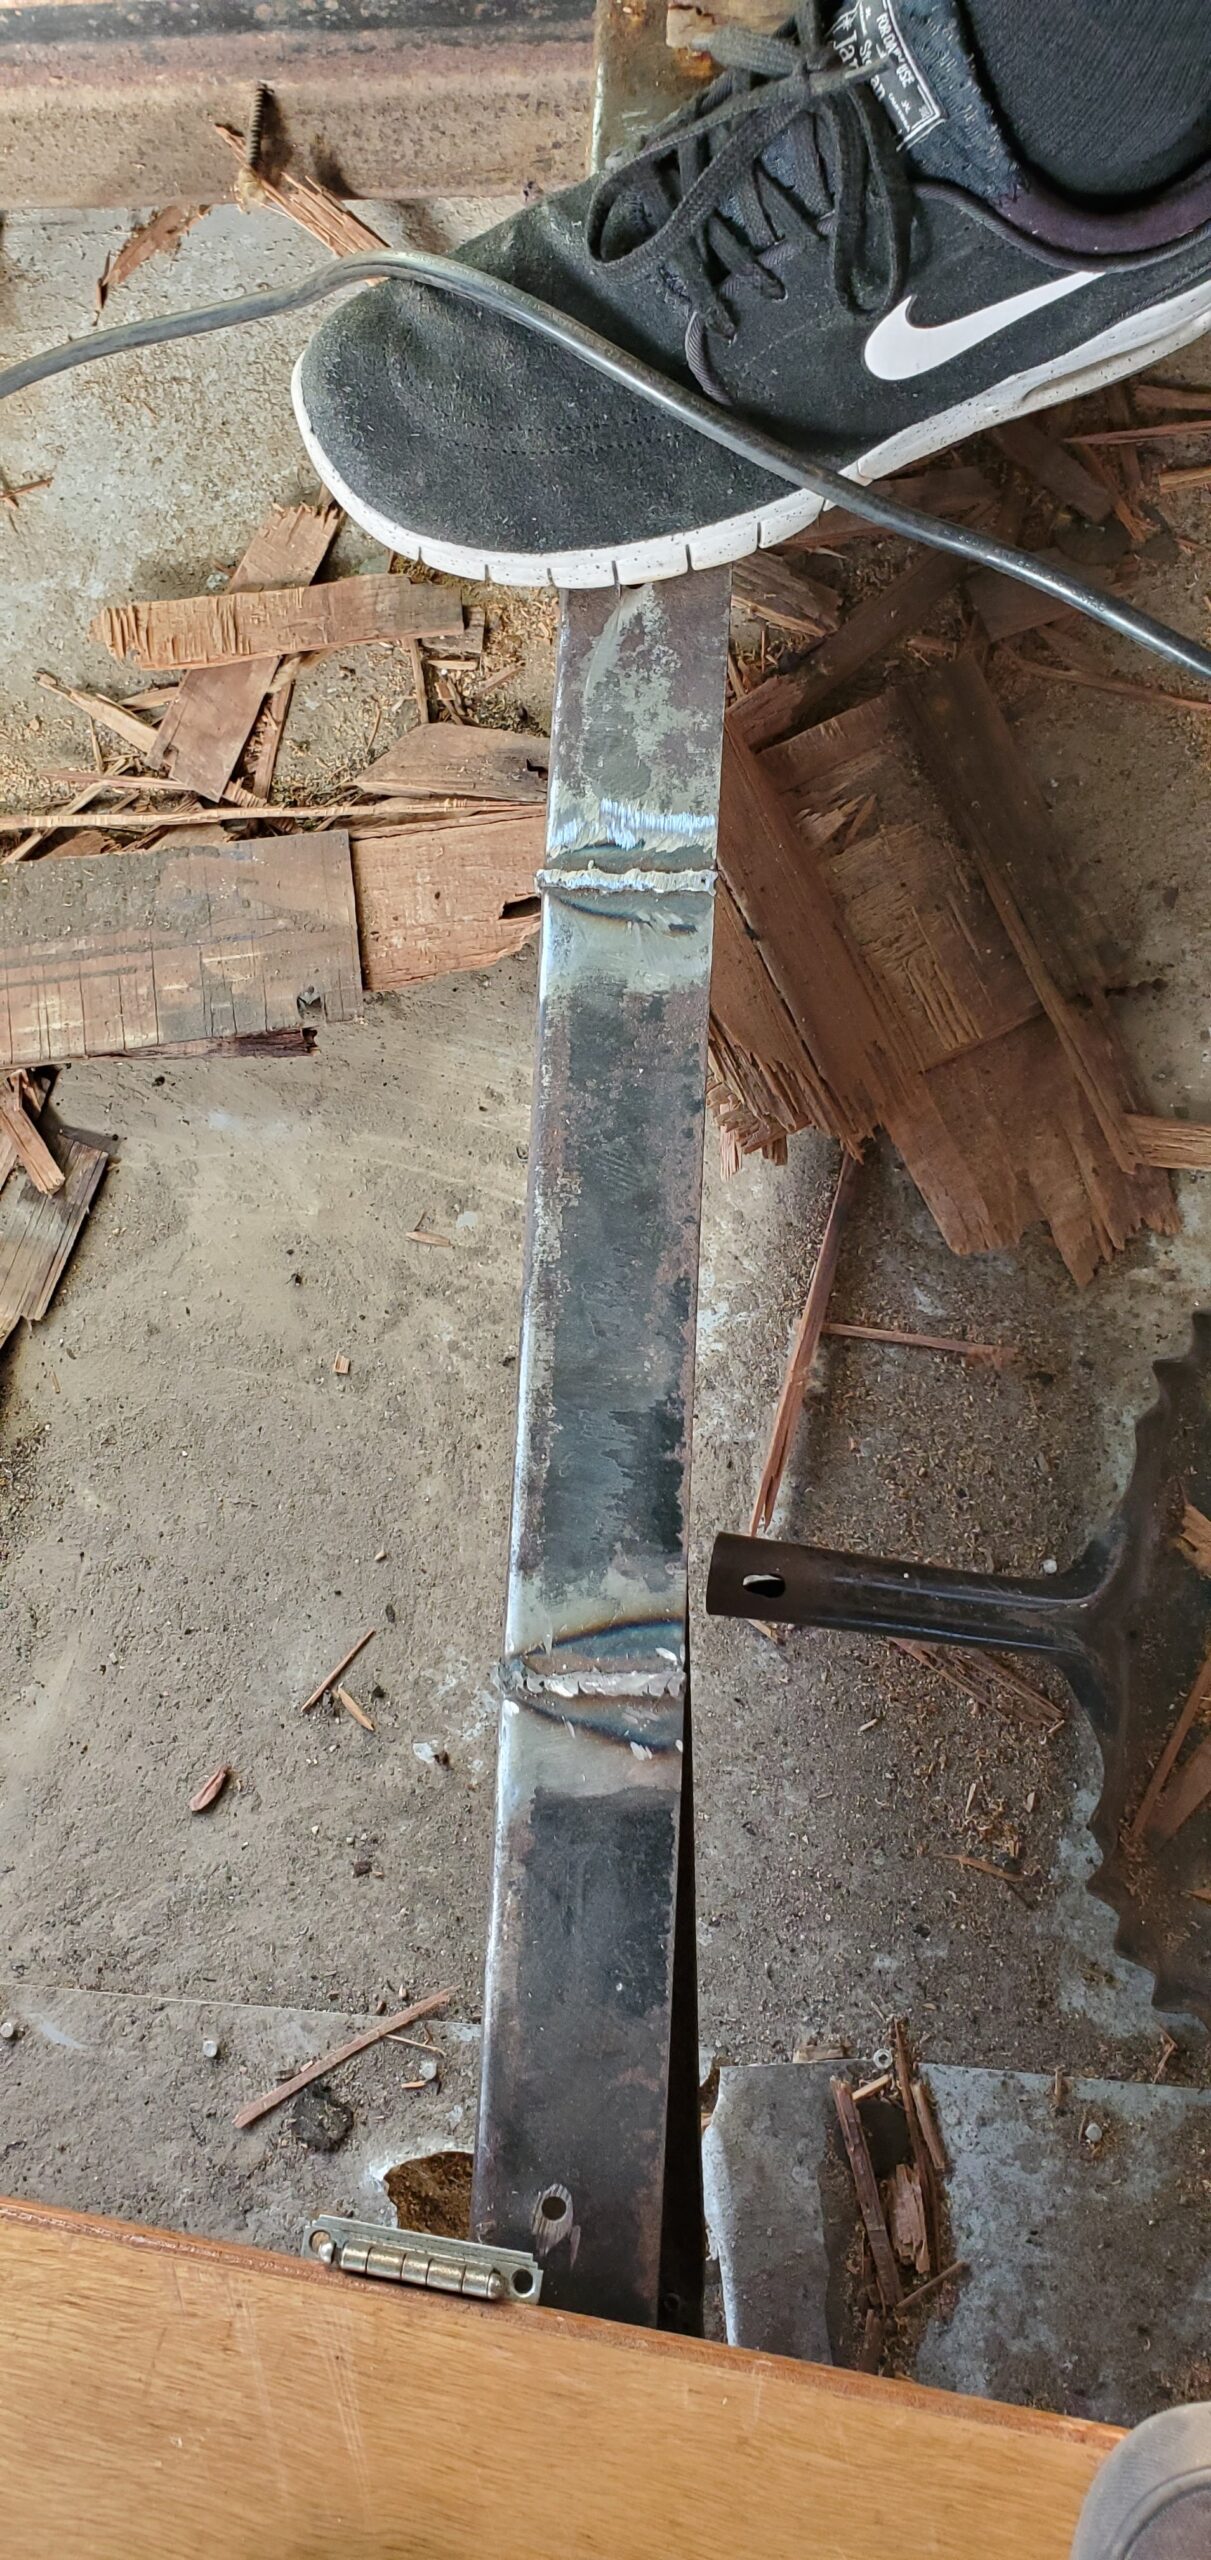
Yesterday, after smoking the circular saw, we went out and bought a bigger replacement. With the new toy, I got a bit reckless because I accidentally cut into the chassis frame while trying to remove the flooring. Whoops, should have double-checked the depth gauge.
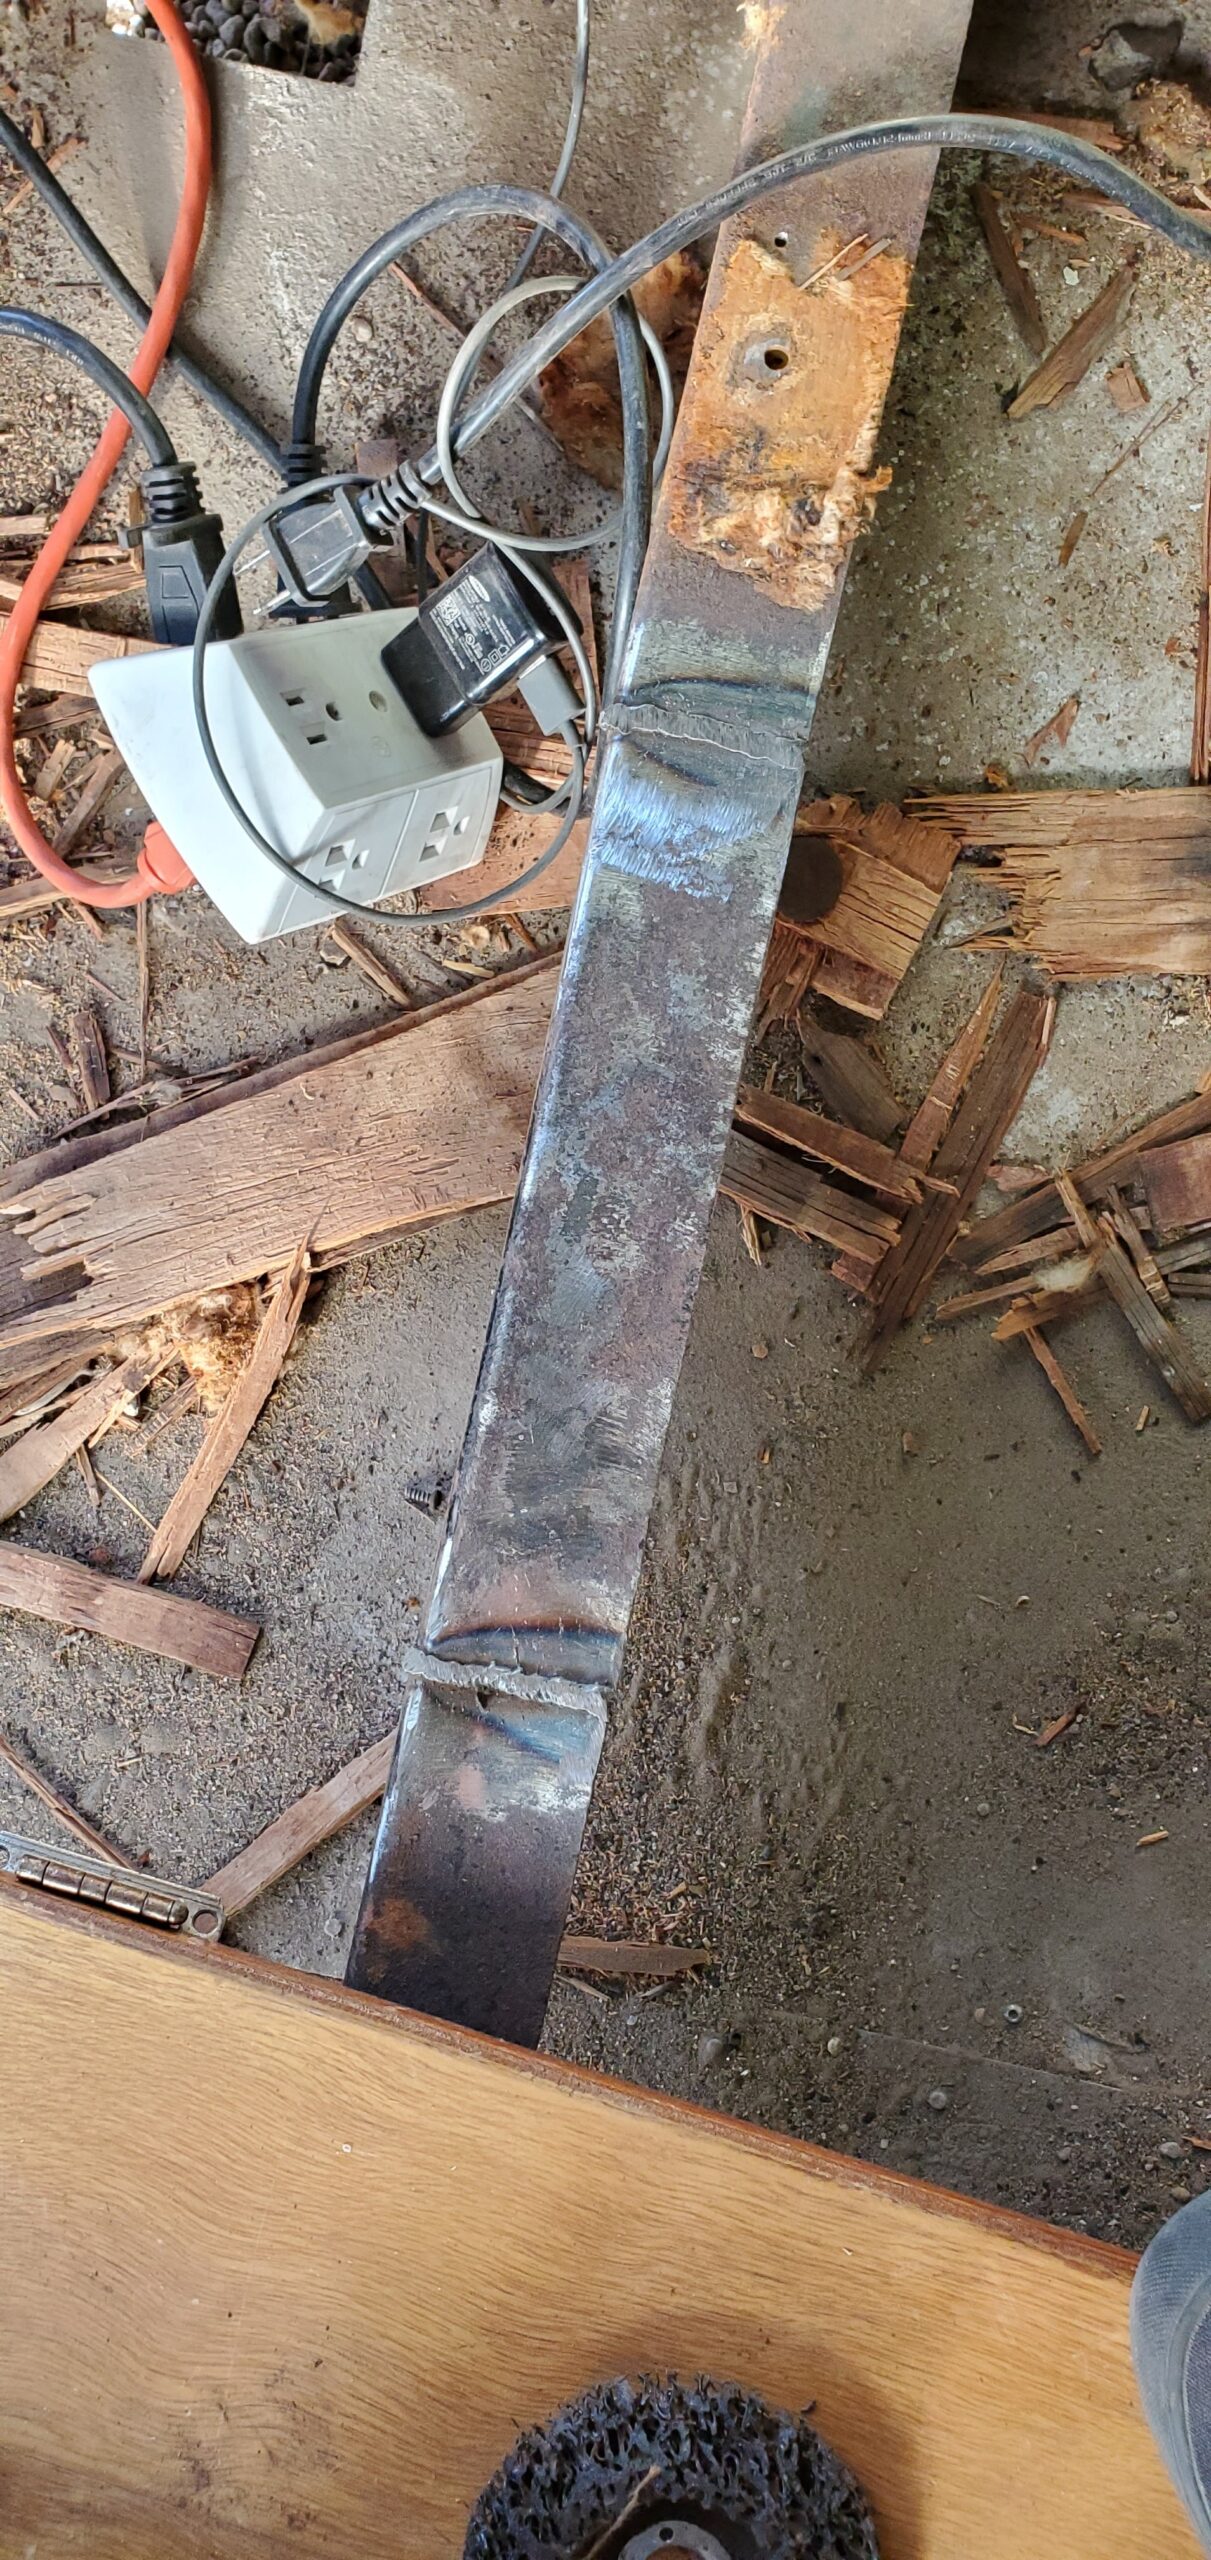
Today, I spent time laying down welds to repair yesterdays errors while the other guys removed more of the flooring on the backside of the camper.
Also, we finally got our first and second piece of plywood floor backing installed. Of course, this was no easy feat. We struggled with the self-tapping wood to steel screws that appear to be made of glass. The POS got dull from just self-tapping the wood. By the time it got to the steel chassis, the sharp edge was nearly gone. This resulted in us overdriving and breaking the screw heads off.
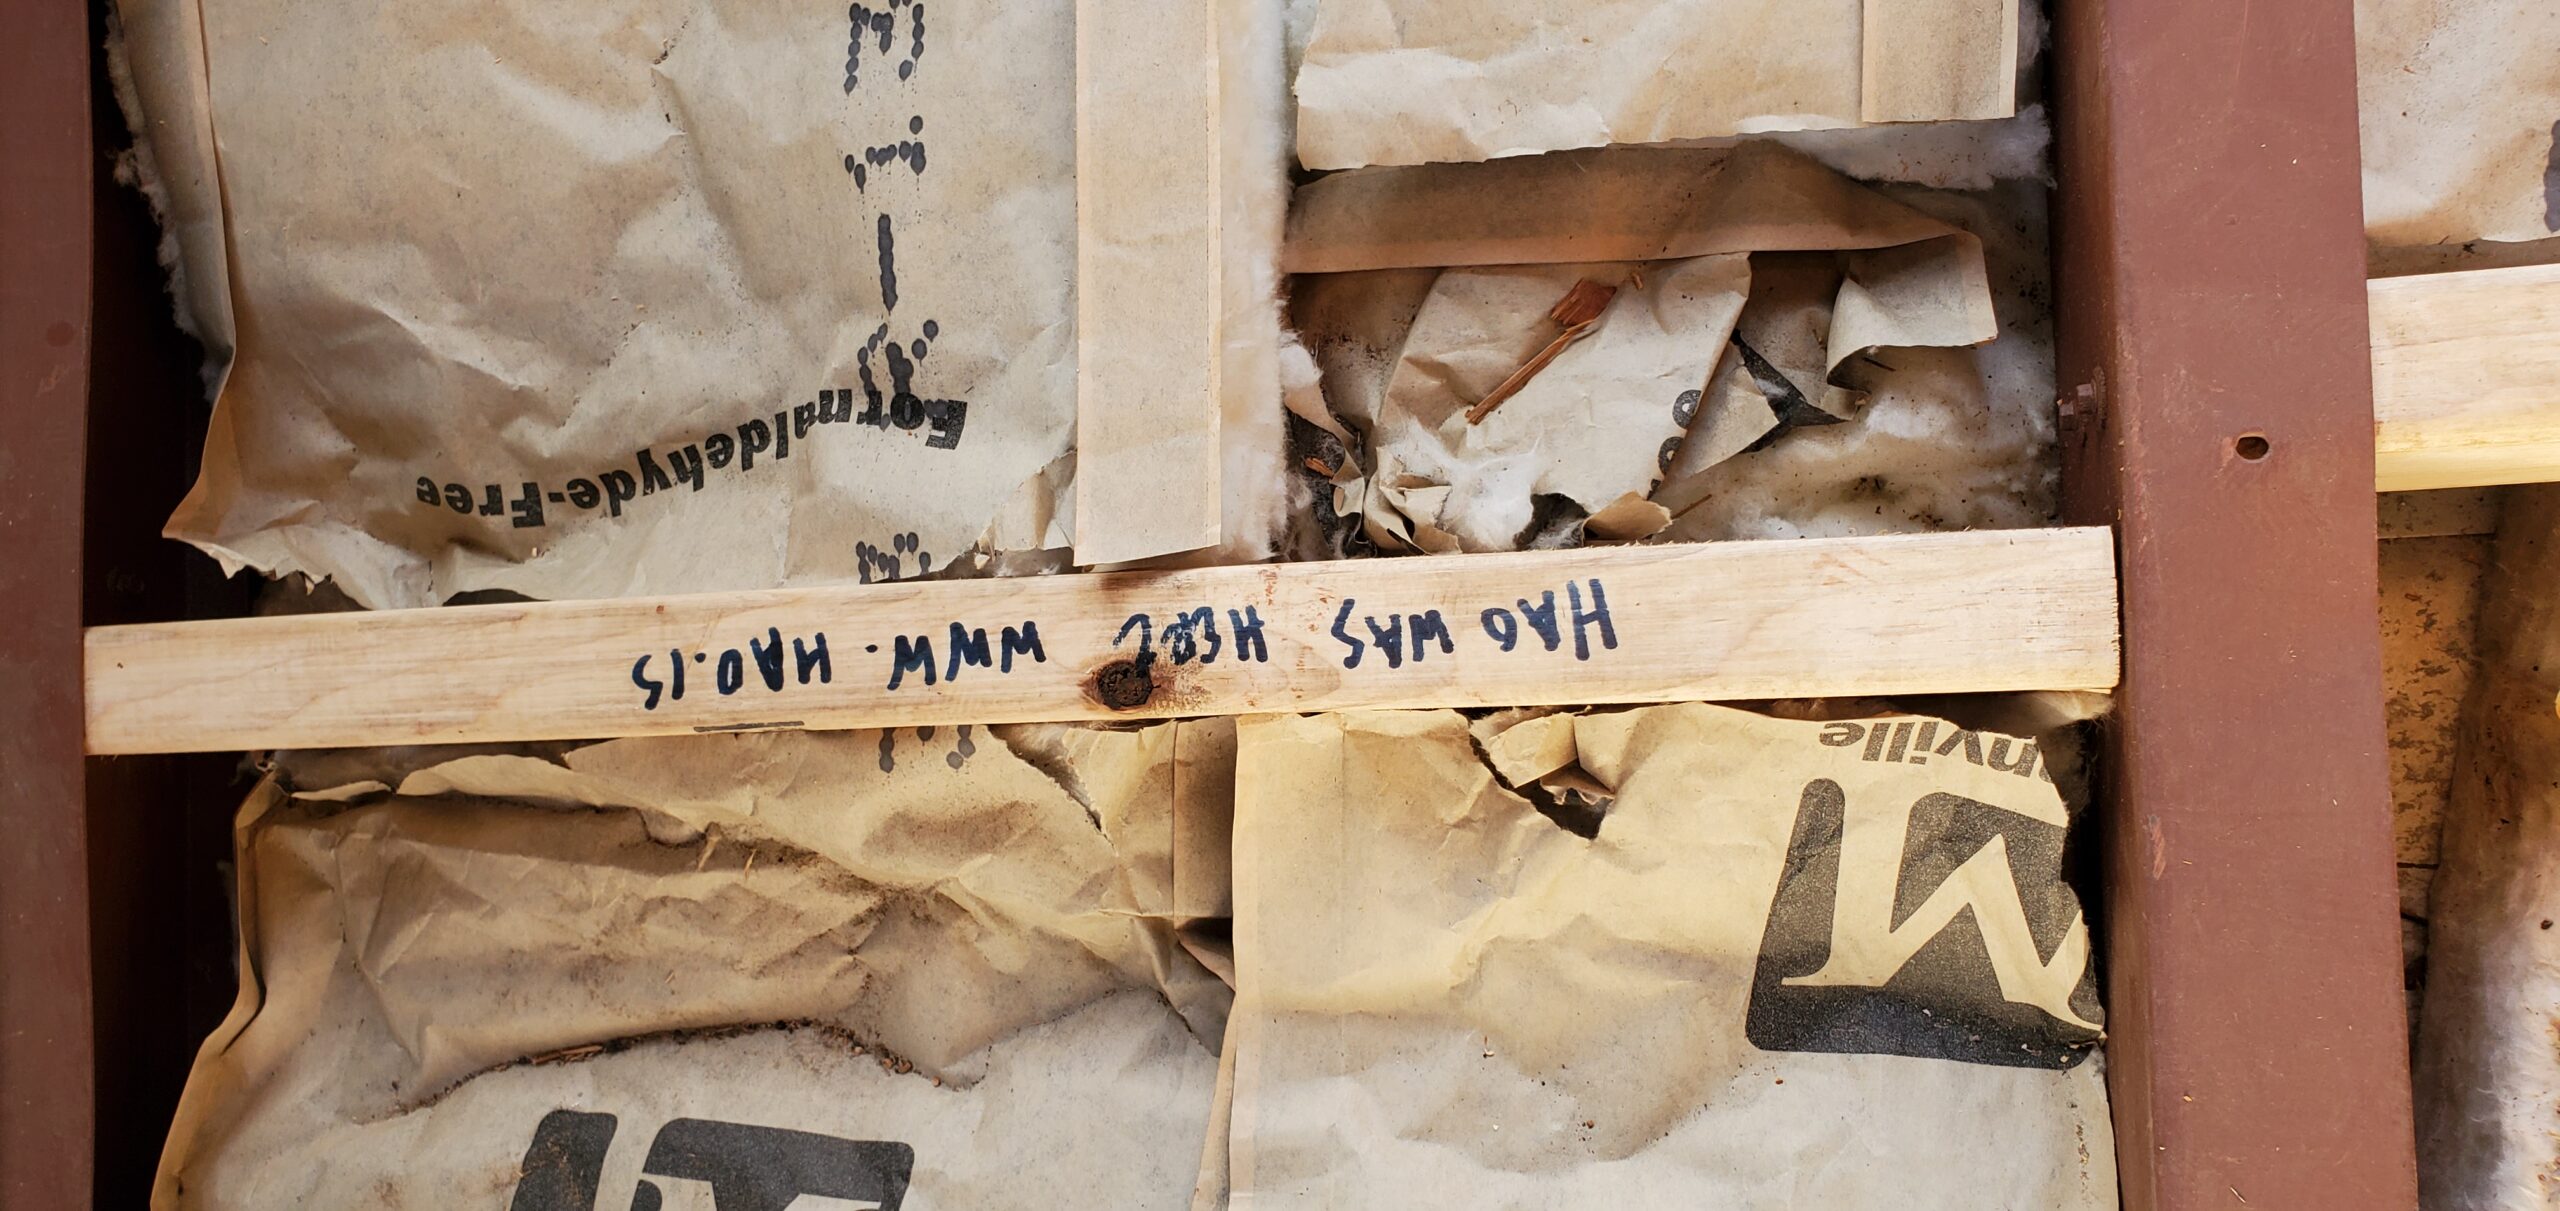
I left my mark on the new plywood floor backing and one of the 2x4 cuts we used for framing. Assuming this camper last another 60+ years and needs refurbishing, they will know that Hao was here.

We're still in the process of removing the old plywood and cleaning. As each piece is removed, we're able to prime the frame and add more 2x4 supports.
Nathan found bigger and better self-tapping screws that actually penetrate quite well. With that, we've also installed the third replacement plywood flooring.
The wheel wells have been removed and are pretty badly rusted or dented. The debate is 1. cut the rust and weld in new steel or 2. just build out a wooden box for the wheel well. Since this camper will be stationary as a bar and will never be roadworthy again, we figure the wheel well isn't too important.

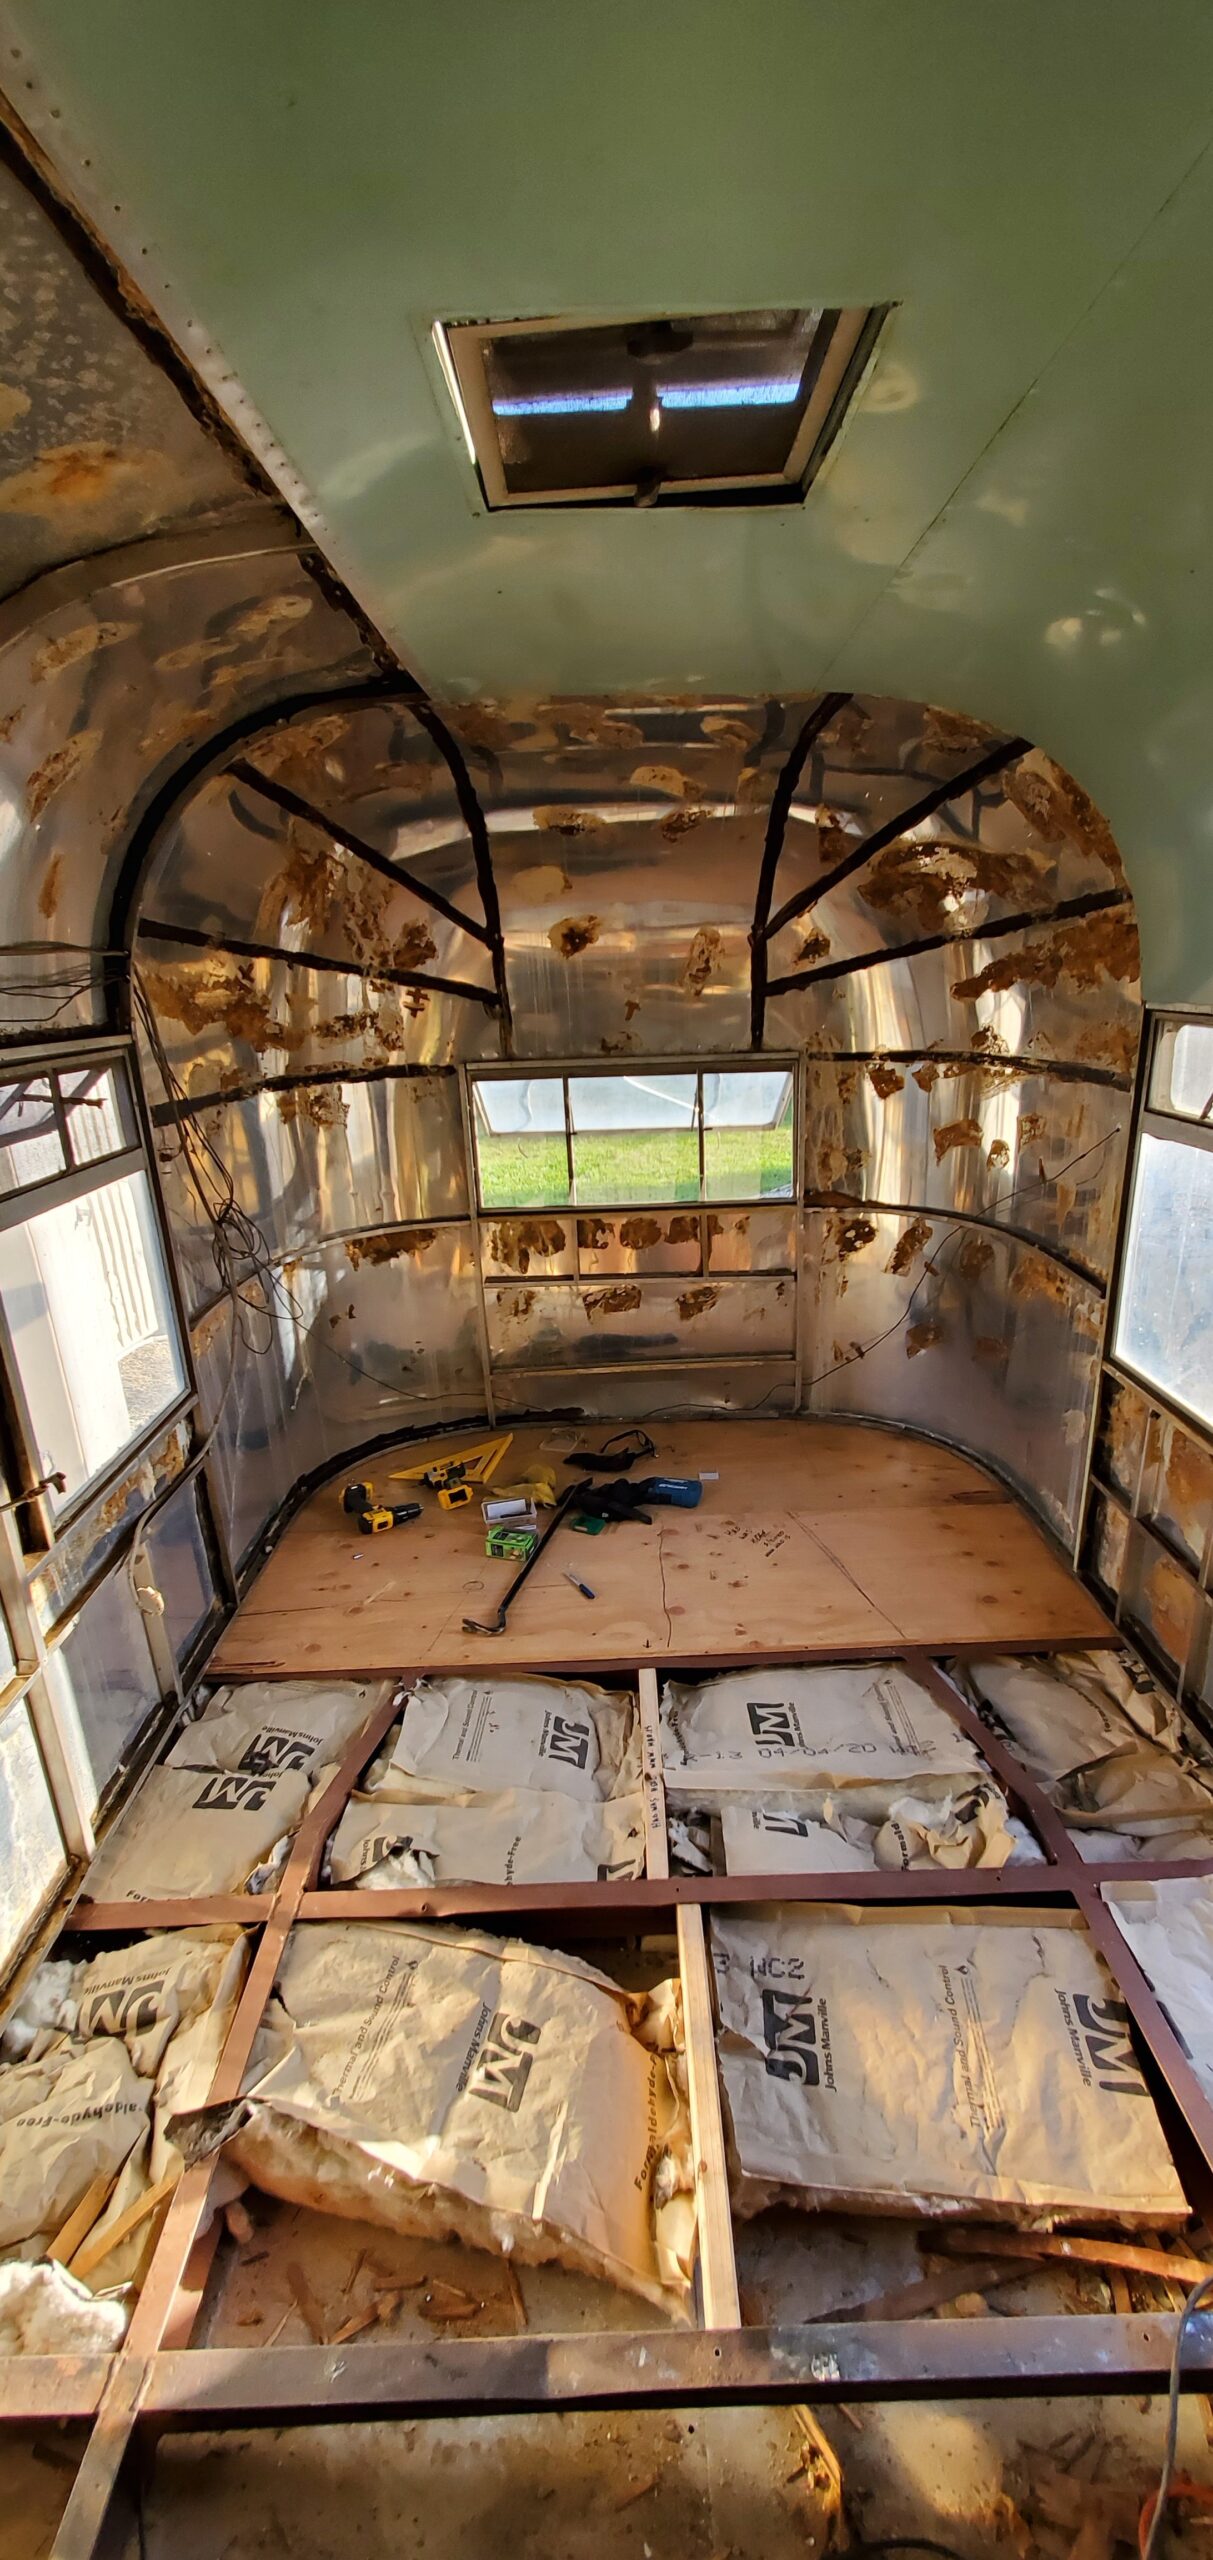
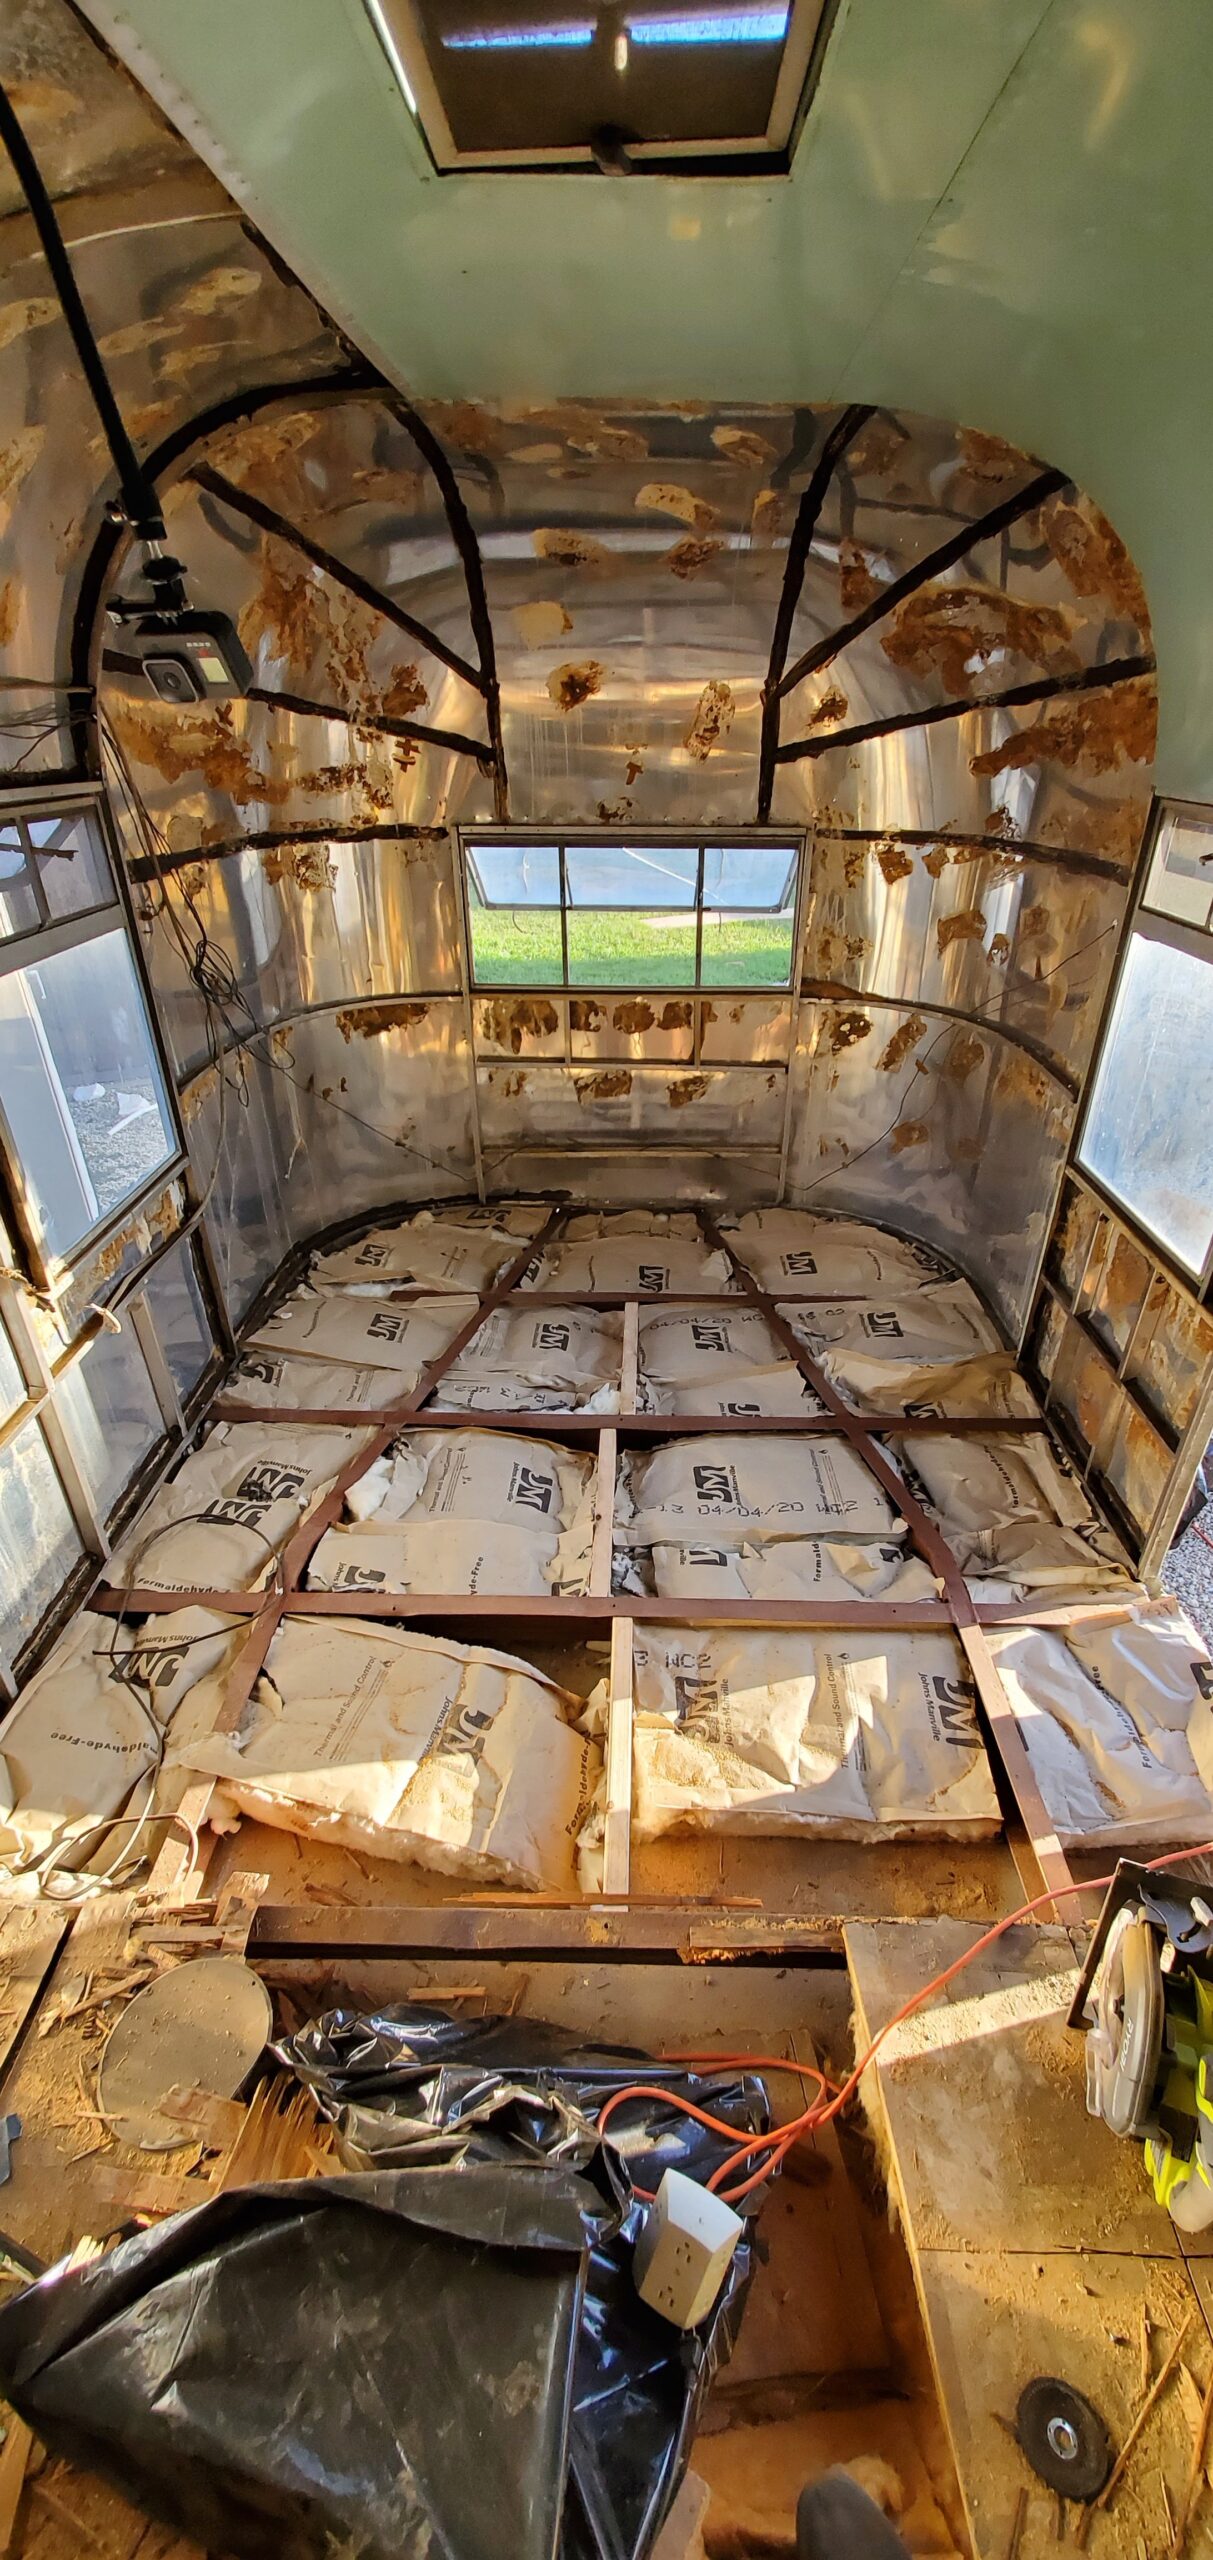
Finally, we have finished cleaning up the frame, reinstalling insulation, and plywood floor backing. I cannot tell you how many times we've slipped and fallen into the aluminum belly.
It's been tiring putting in a few hours a day and then updating this blog. Here's a major milestone video (part 1 of the series).
We had so much momentum and were going at a great pace until it started getting hotter.

It's been a long while since I've updated this post. The same is true with the progression of the build.
We've been working on this project on and off. Mostly off. This update comes at a time where the project has been at a standstill for over an entire month. The progression since the last video is minor, however, we did complete a major milestone. This included making a big scary cut into the body of the camper for the bar serving window.
As you can see from the video, we were very happy with the results.


In the mean time, check out my other DIY projects here.
My Gear:
Shot on GoPro:
Amazon https://amzn.to/2yVfhxc | BestBuy bestbuy.7tiv.net/LMK6L
Also shot with Sony A6400
https://amzn.to/2Vs1F5i | bestbuy.7tiv.net/1vboa
Zeiss 24mm
https://amzn.to/2xowpuR | bestbuy.7tiv.net/GMDor