My buddy and his wife wanted to have an outdoor play area for their child and baby cousins in their backyard. They wanted to inspire art and creativity. A chalkboard was perfect for that. The only issue was there wasn't any buying options for a giant outdoor chalkboard. They enlisted my help to build a giant DIY outdoor chalkboard.
I researched the web for the best building materials to withstand the sun, rain, and other outdoor elements. I found a couple of DIYers that have previously made(linked below) an outdoor chalkboard and which gave me direction.
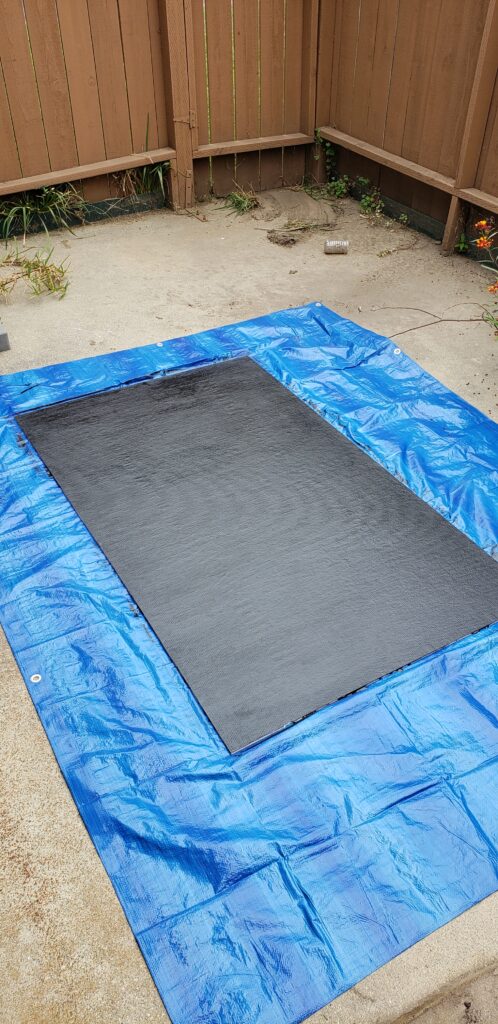
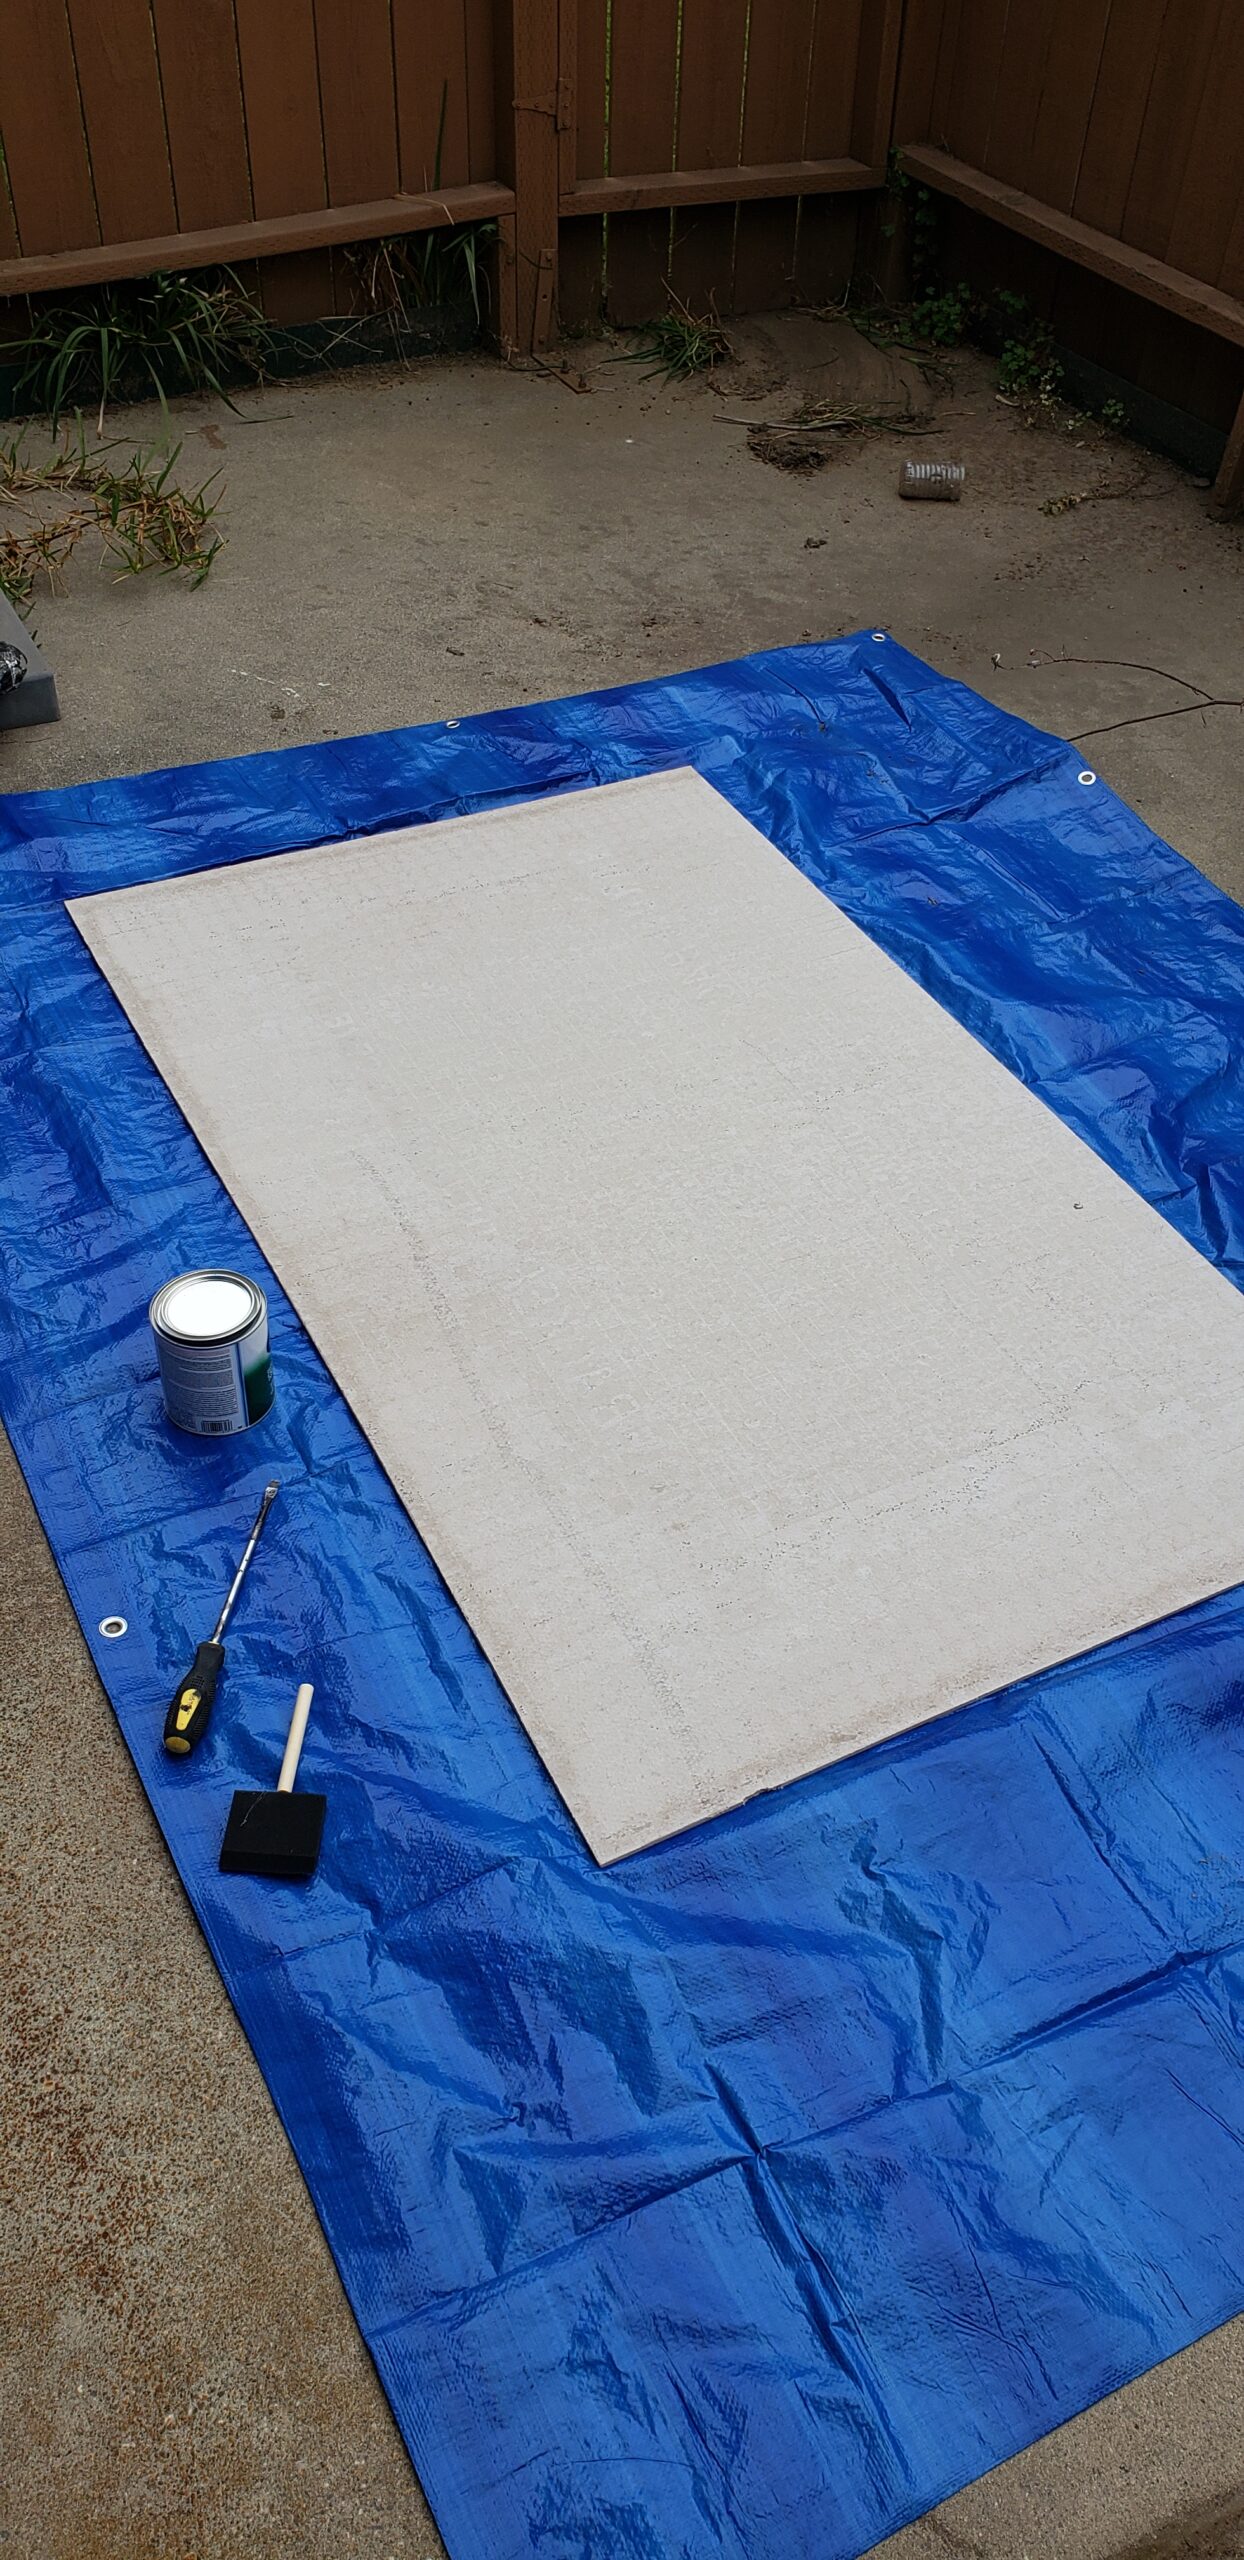
First, I needed a cement backer board. I went with a Hardie backer board in 3x5ft. I grabbed a can of Rust-Oleum chalkboard paint which is good enough for more a few chalkboards. For the wood frame, I went cheap and got 2x4 framing lumber in douglas fir. Your local hardware store might have different 2x4 wood depending on your area. Also depending on your area, you may opt to pay for pressure-treated wood or woods that can better withstand the outdoors. Fortunately for me, Southern California weather isn't too bad.
I rolled on four coats of Rust-Oleum chalkboard paint allowing each coat to dry for a few hours.
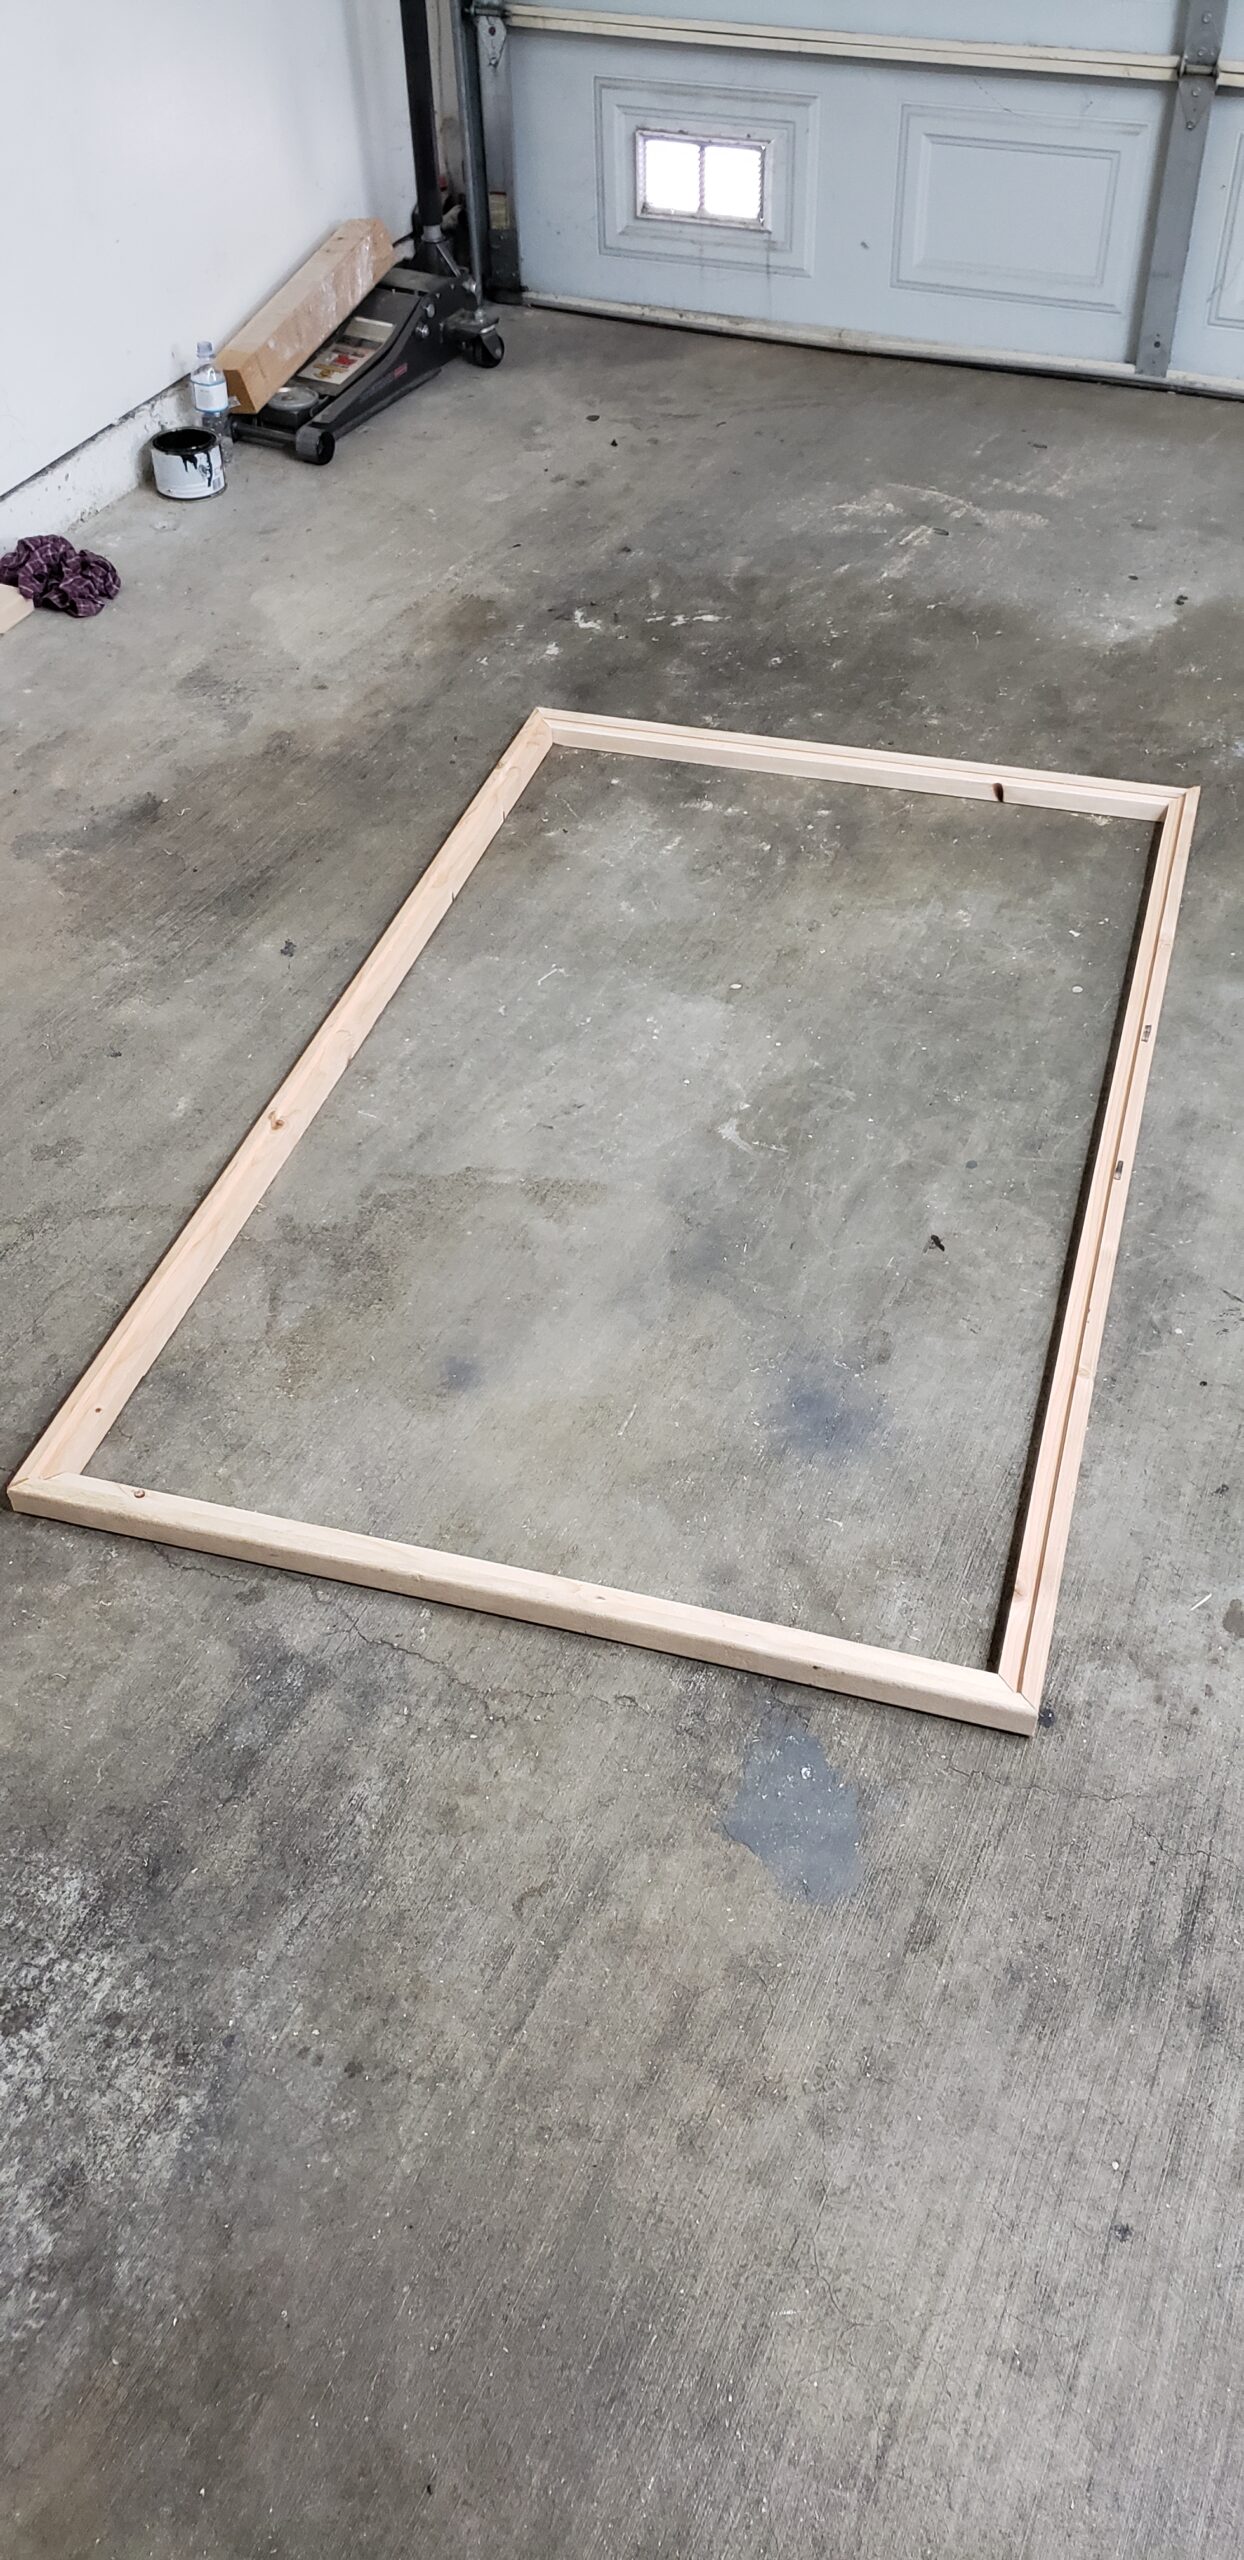
I used a Dewalt table saw to rip the 2x4 down the middle. This allowed me to have the outside frame. I ran the halves down the table saw again to cut out a square groove for the cement backer board. The corners were mitered 90 degrees using a Dewalt miter saw to make the picture frame.
Sand down the wood to make sure there aren't any sharp corners or possible splinters. If available, run each framing piece through a router using a round-over bit.
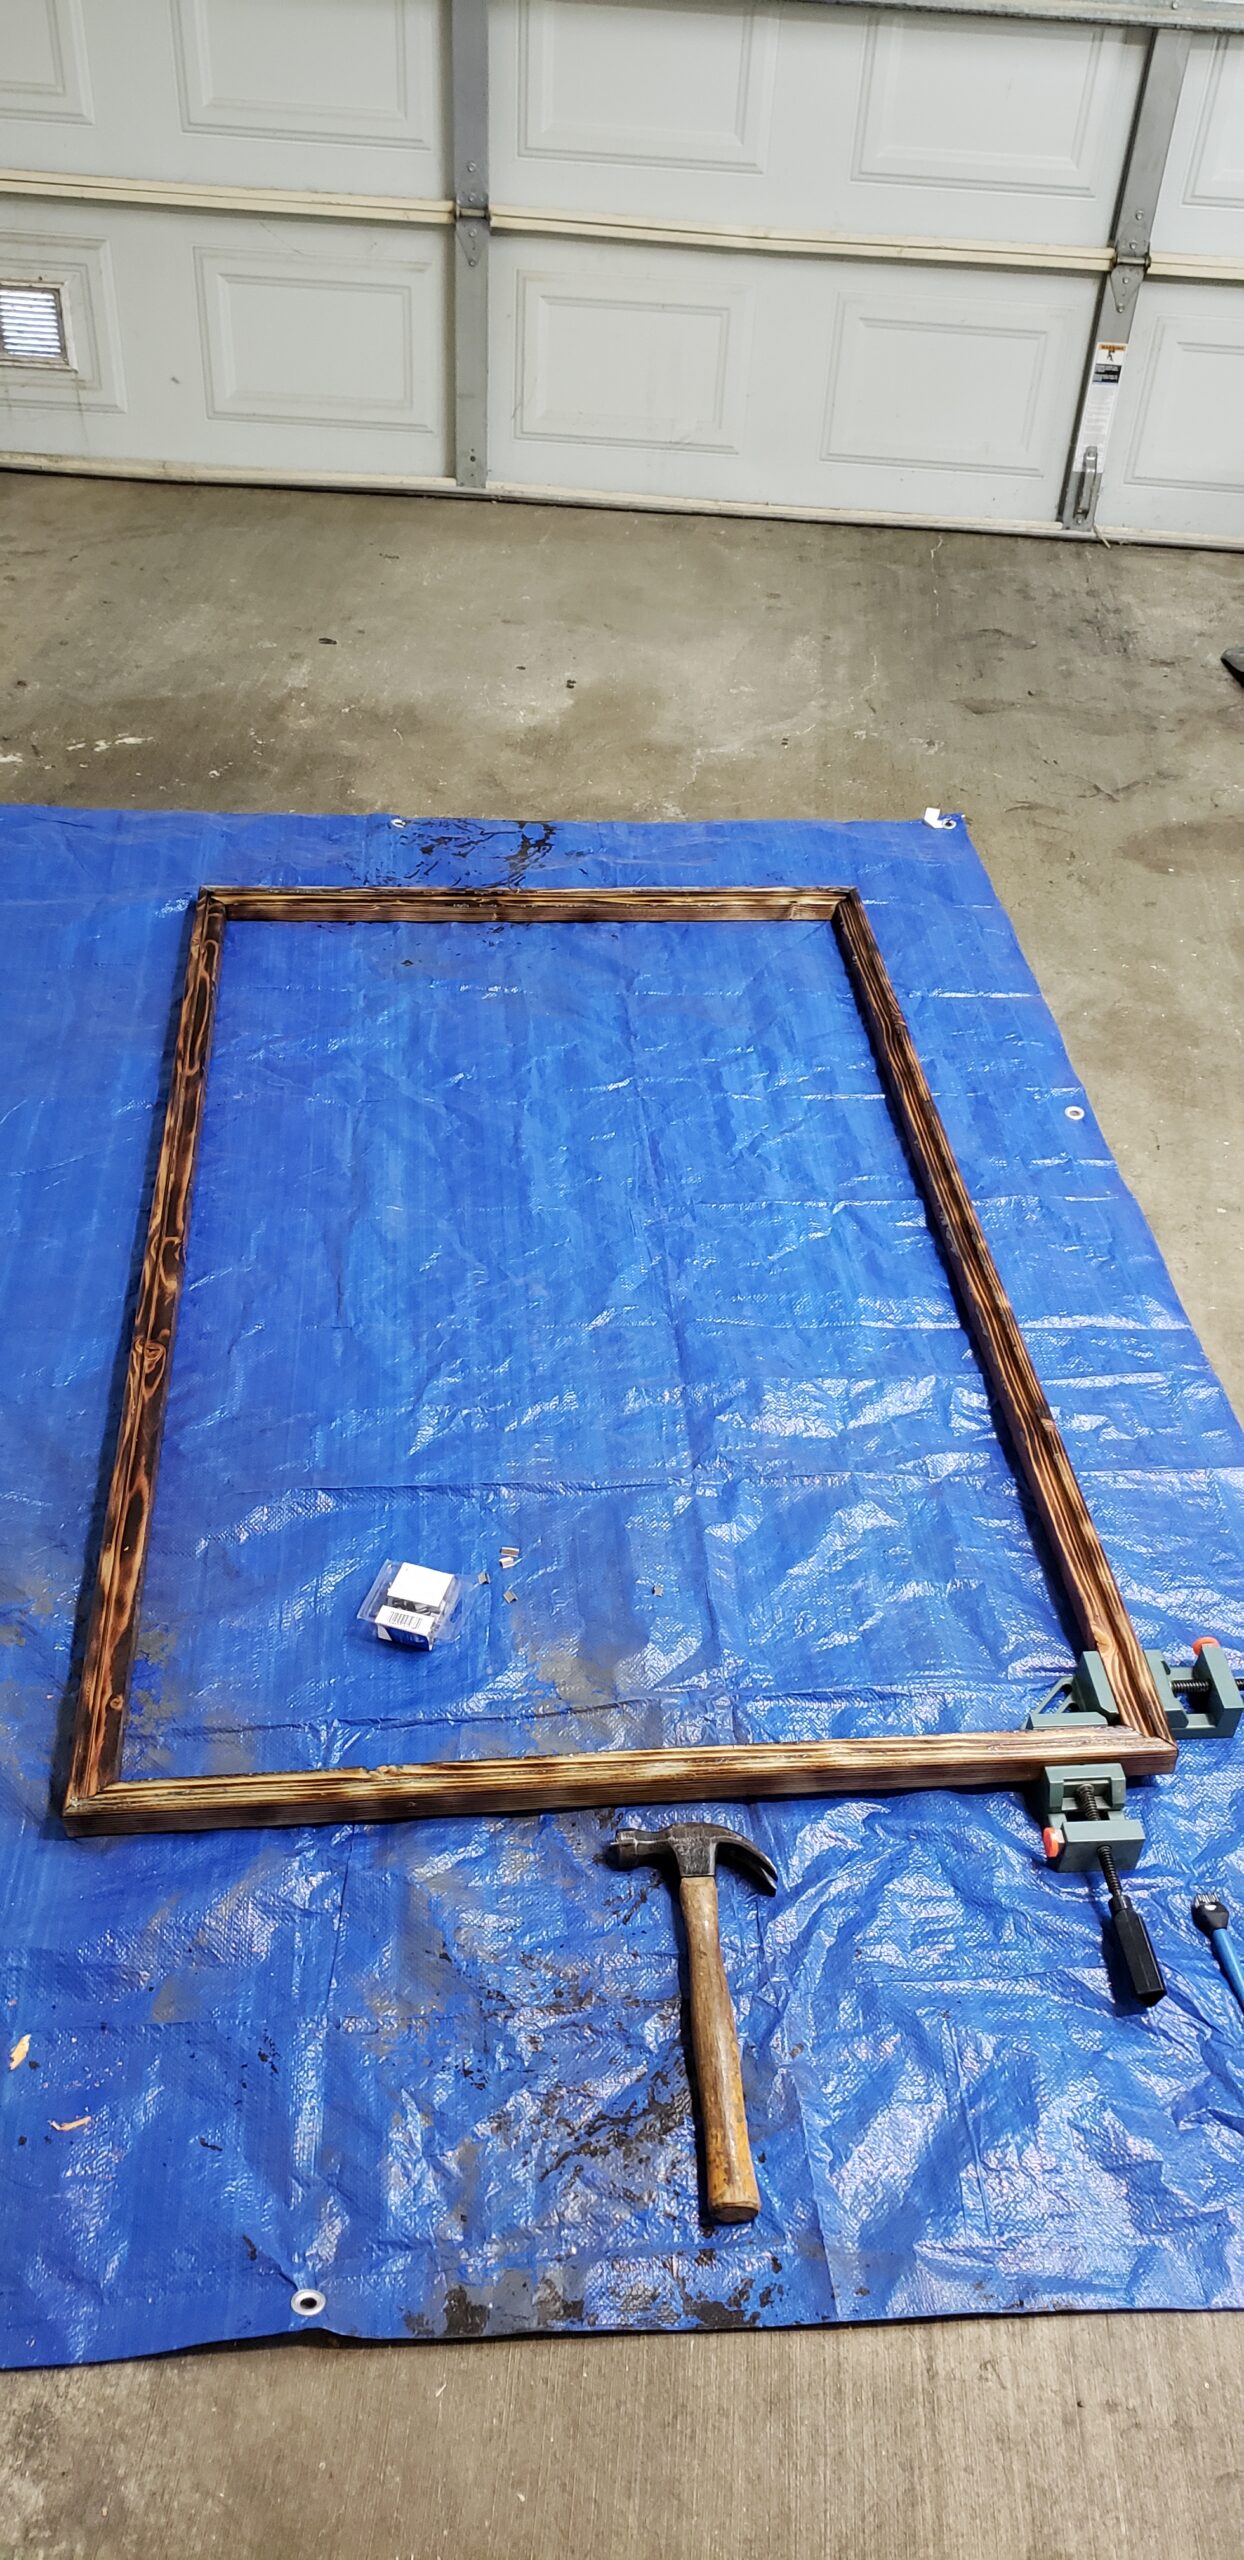
The chalkboard needed to be able to withstand the elements. I went with the Japanese wood-burning technique, Shou sugi ban. Burn the wood using a propane torch until the wood is black. Then use a steel brush to comb off the ashes. I then sealed it with four coats of outdoor-rated wood seal. I'm not sure if this was overkill but I did it because I cheaped out wasn't sure if using basic 2x4 framing lumber would survive outdoors.

This board was so big that I was afraid it would fall apart due to weight. I purchased this v-nail for the mitered corners in addition to wood glue. This helped strengthen the chalkboard, however, my concern was a bunch of toddlers running around. I decided to attach the cement backboard directly into the wood frame. I pre-drilled countersink holes into both board and frame. The two were attached using wood screws. This made the chalkboard much more sturdier.
To attach the chalkboard to the wall, I used the french cleat technique. I ripped another 2x4 at 45 degrees down the middle. The french cleat was the entire length of the chalkboard. I attached the cleat to the top and sides of the frame with wood screws.
The bottom support cleat was then attached to the concrete wall using concrete screws. Make sure to countersink a hole on the wall cleat.
The project cost me about $75 and maybe 6 hours of my time. The results is a happy kid. This giant DIY outdoor chalkboard was a fun and rewarding project.


Additional Resources:
https://www.heytherehome.com/outdoor-chalkboard/
https://www.hgtv.com/outdoors/outdoor-spaces/how-to-make-an-outdoor-chalkboard
Check out my other DIY projects here.